Host currently has several packages that can be selected based upon your intended use. Since we purchased this off the dealer lot in 2018, the configuration was what it was.
After using it for a few years, we knew we wanted to increase our electrical capacity, and officially started this endeavor in early 2021. This was done over 2-3 months on most weekends.
If you’re going to do something similar to what we did, make sure to batch portions and have an area where you have ample lighting to install parts when you remove/disconnect your current batteries.
Obviously, there are many ways to do this, but hope our video can get some ideas churning if you’re going to choose to not get one of the Host-installed packages.
For those of you wanting a bit more detail on what components we used, I have the below slide deck that has what we determined was our old electrical system, and then a diagram of the new system we installed.
Note: we are not professional installers and we can only provide feedback on our system. If you’re looking for more detailed information, I would recommend professional installers.
And… there’s links to Amazon for most of the parts we ordered. We’re not Amazon affiliates (yet) though.
Click on the “…” at the bottom left of the slides to show a full-screen option (easier to read).
The video walks you through our entire system, but thought I’d add some additional pics here. You can click on any photo to enlarge. Enjoy!
Main Components
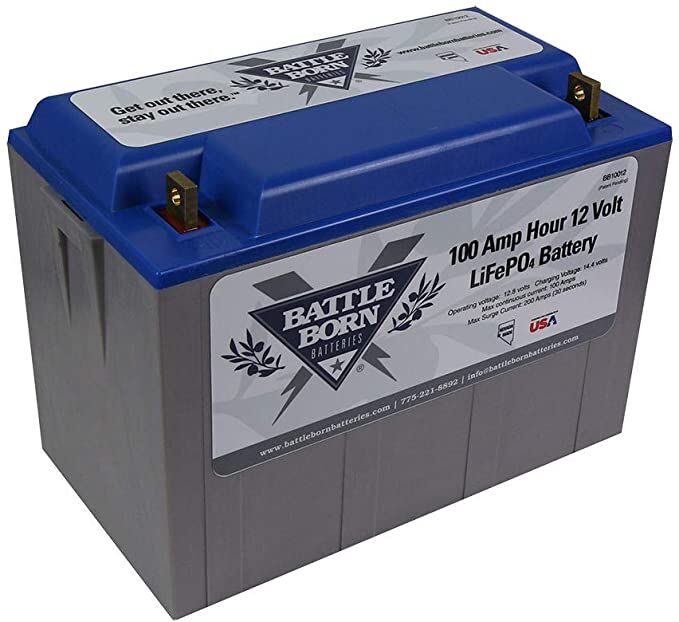
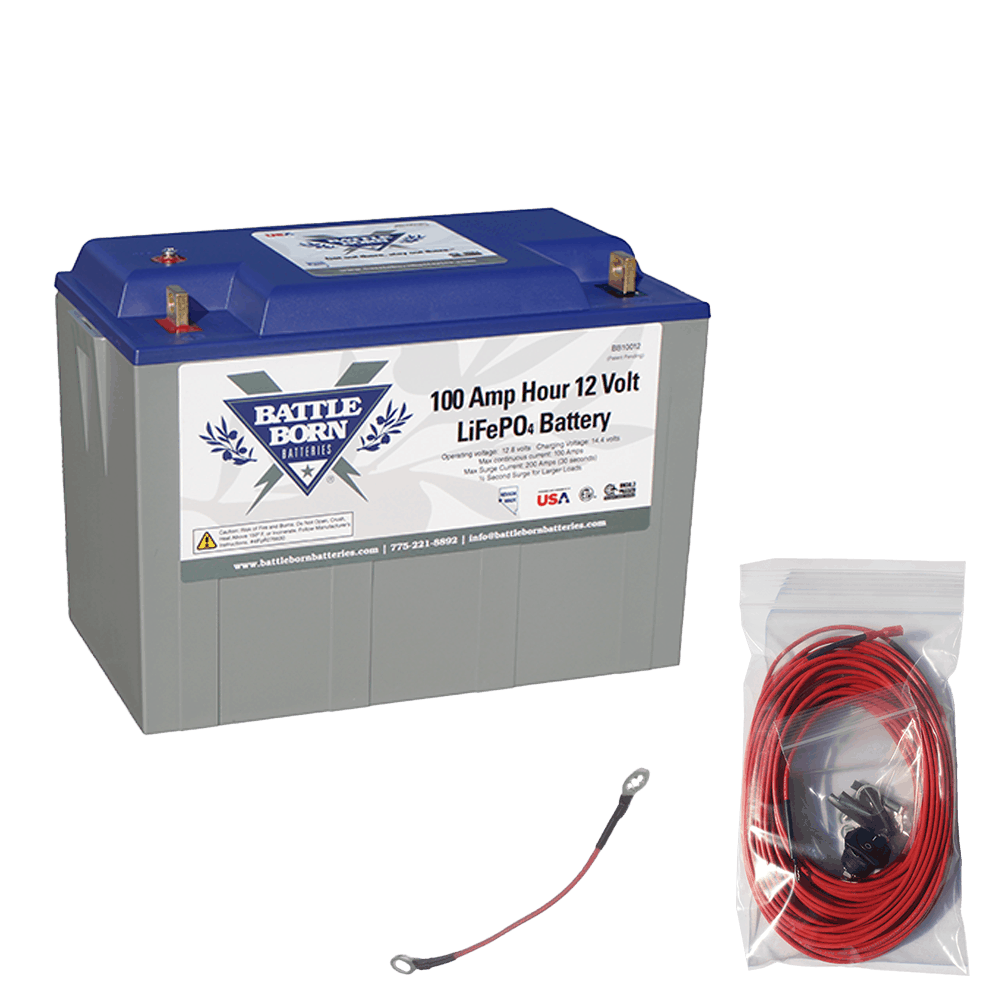
BattleBorn Batteries – We have these for 2 of the 4 batteries on our truck
BattleBorn Batteries (Heated) – We opted to get 2 heated batteries as a backup plan during very cold days. These are only available at Battleborn, not Amazon.
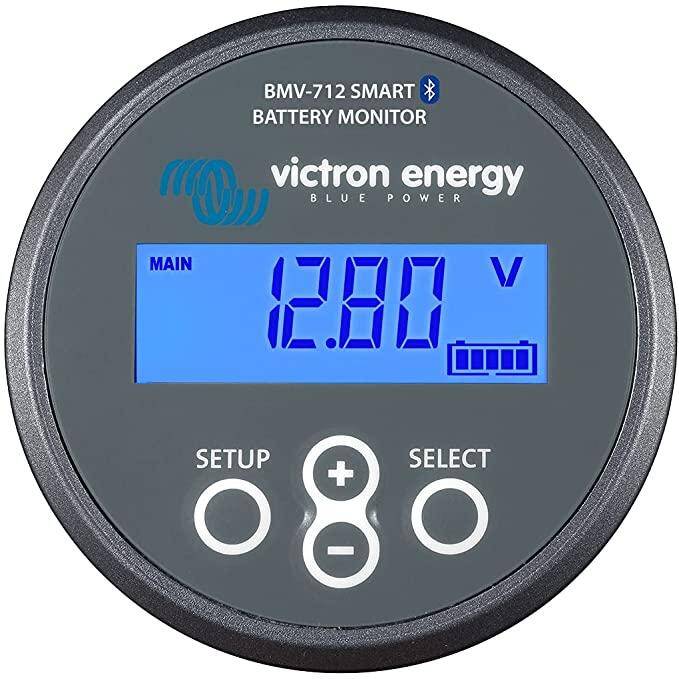
Victron BMV-712 – This includes the shunt and the round display and is Bluetooth enabled
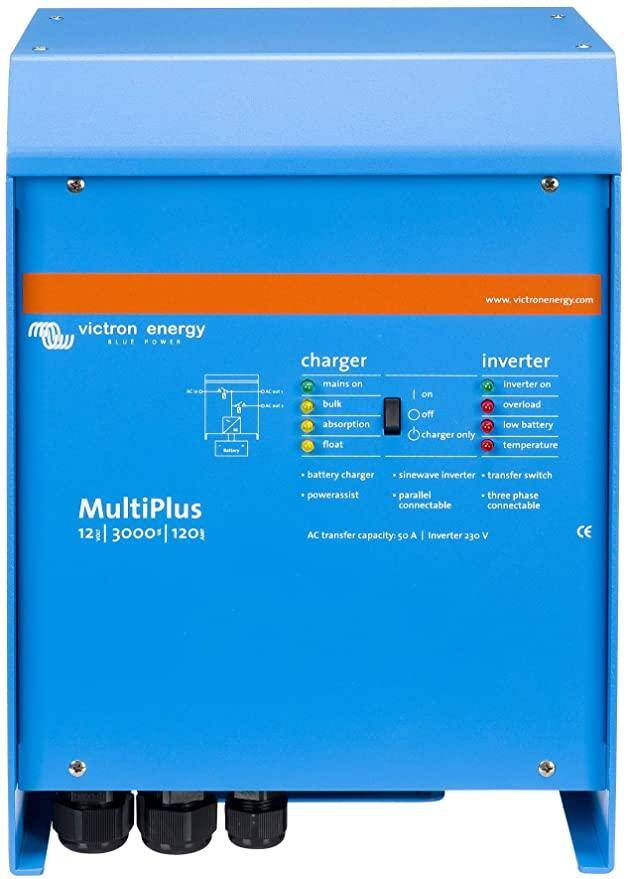

Victron Multiplus 3000W (12V) – Both the brains and the brawn of the system. Oh, did I say beefy too? Trying to find the right location for this sucker was one of the hardest things to do.
Victron SmartSolar MPPT Controllers (100V/30A) – We have two of these in our system. One for all of the Sunpower panels and one for the older Zamp panel that came with the rig. In hindsight, I wished I added a 3rd one to separate the 2 panels on the nose (better optimizaton of solar)
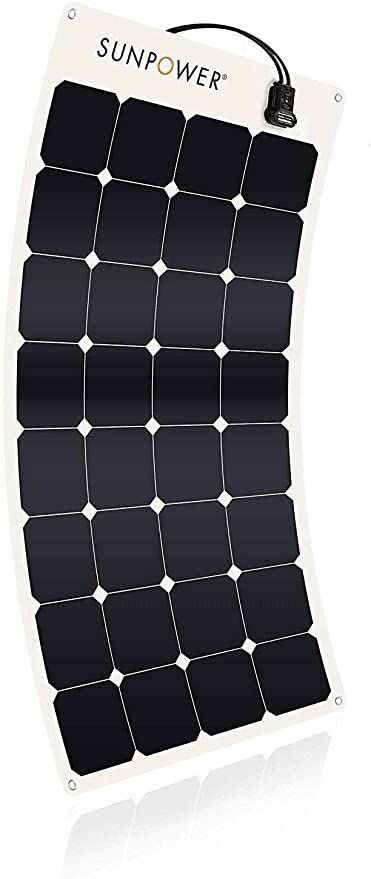
Sunpower 110V Flex Panels – We purchased 4 of these to use on the roof in addition to the existing Zamp 170W panel. We used Coroplast from Home Depot under the panels to provide air flow and then secured it with 4″ Eternabond Tape (but leaving a section open for water to get out).
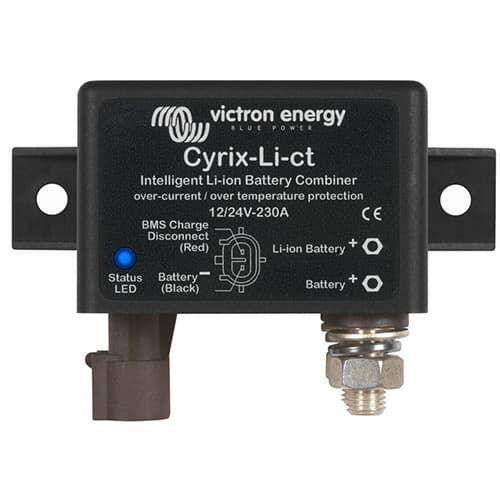
Victron Cyrix-Li-CT – This was installed by Sherptek and is used to connect or disconnect the truck batteries to the house batteries based upon voltage of the house batteries and whether the truck is running. It’s not available on Amazon so this is a ink to the InverterSupply store, which is also a good resource.
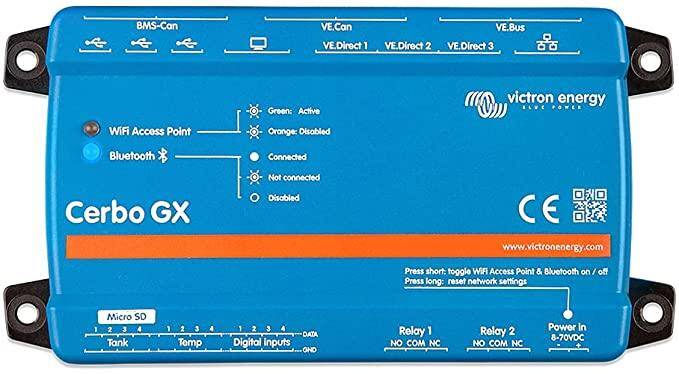
Victron Cerbo GX – This was purchased so we can have access to all of the data with the related touchscreen. This was basically the data router instead of viewing each component individually.
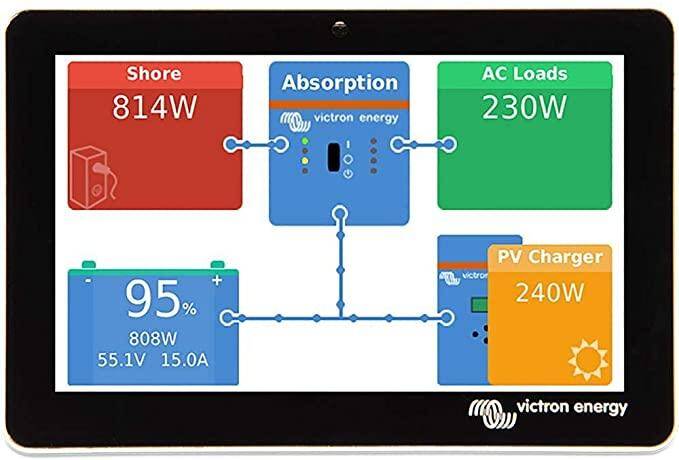
Victron Cerbo GX Touch – This was a late addition in our system but I’m so glad we have this. While you can get into each component separately (Victron, MPPT, BMV, etc), this provides a full picture of your system without having to pick up your phone. But you can also see this on your phone if you want as well!
Victron Battery Temp Sensor – The temp sensors with the BMV will NOT work with the Cerbo. So we had to get this specific one.
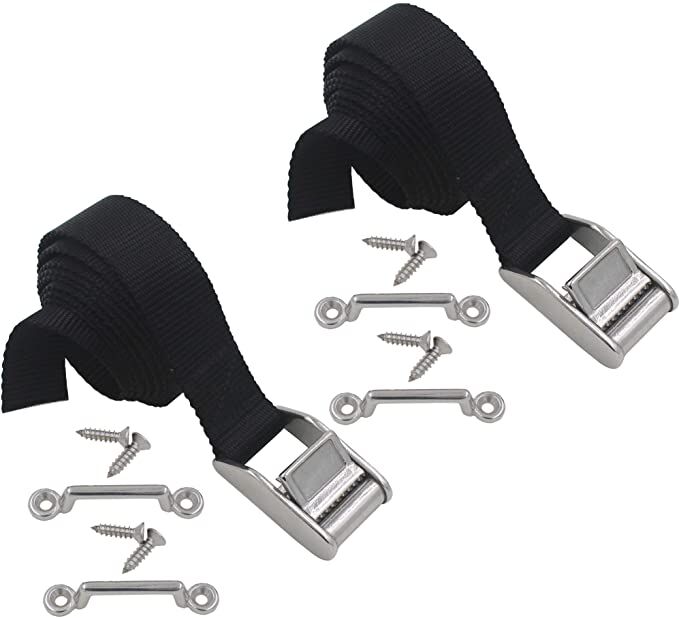
Battery Tie-Down – Needed something a bit robust to keep all of those batteries where they needed to be. These worked pretty well so far!
Buss Bars, Breakers, Fuses & Switches
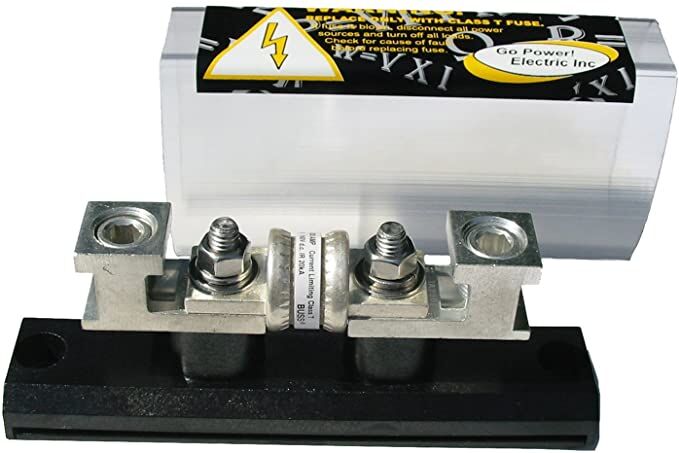

400A Fuse & Fuse Holder
Spare 400A Fuse
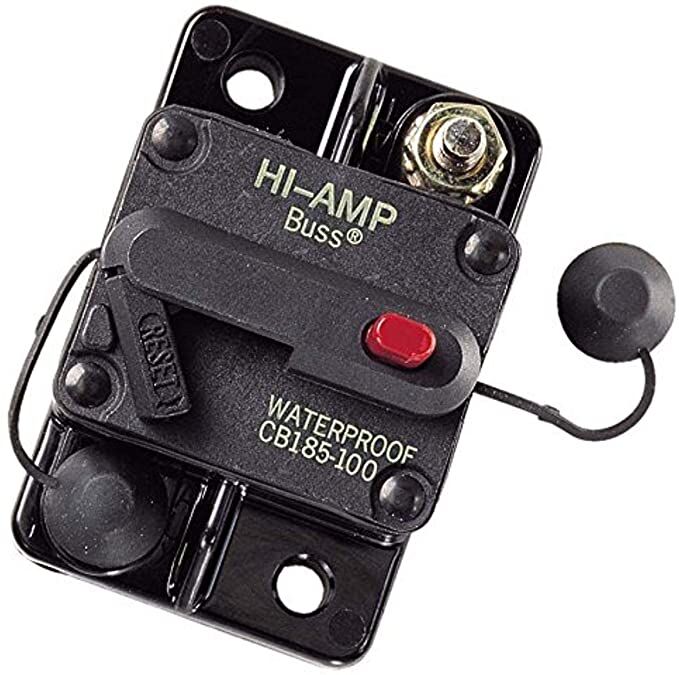
100A Breaker for Main 12V Items
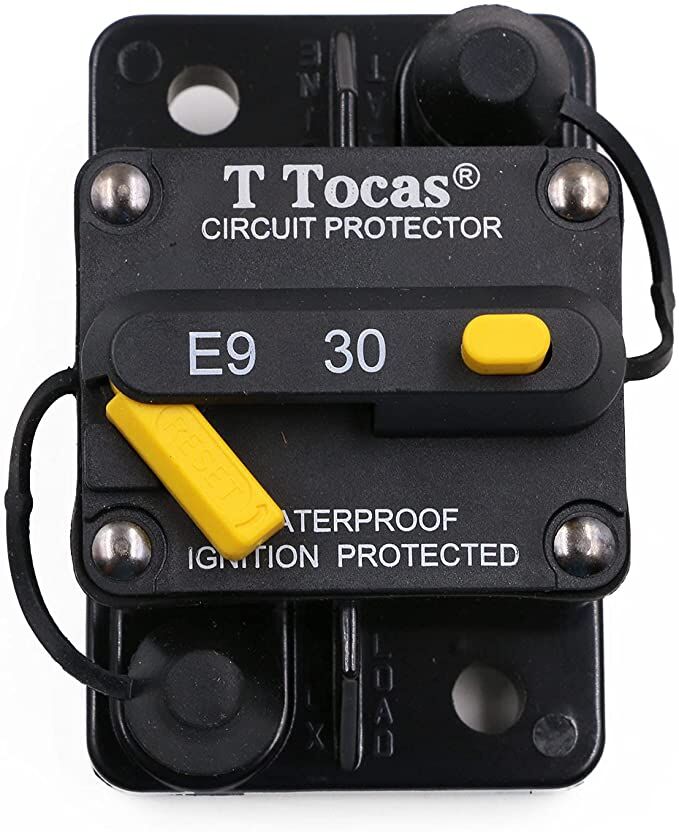
30A Manual Reset Breaker – I used 1 for each of the MPPT solar controllers
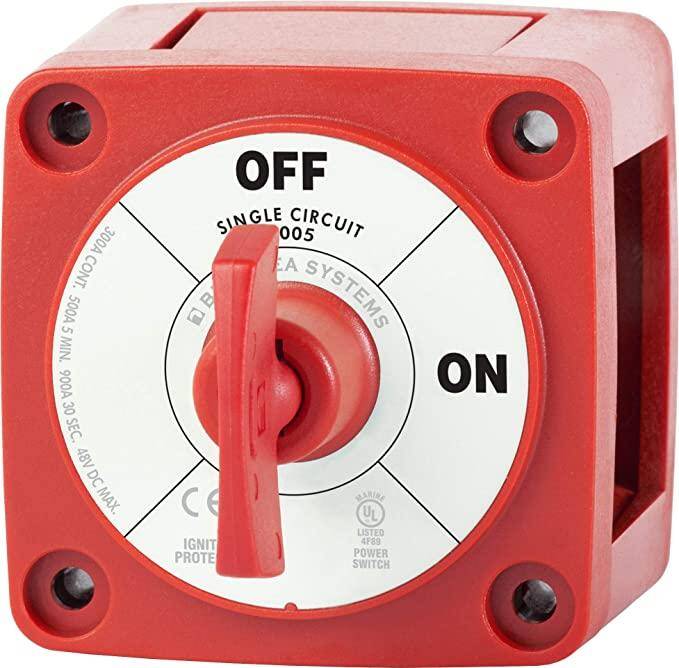
Main Disconnect – I used two of these – one for the battery bank and one for the Multiplus inverter/charger
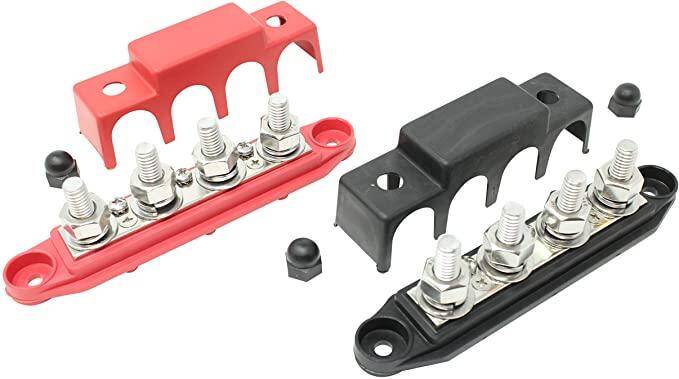
Power DIstribution Blocks – I used these to help unscramble the power and ground mess that was in the camper. I also used a pair of these on our boat to make it USCG-compliant.
Terminals, Connectors & Heat Shrink

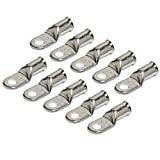
2AWG 5/16″ Lugs – Used this for power connections off the power distribution buss bars
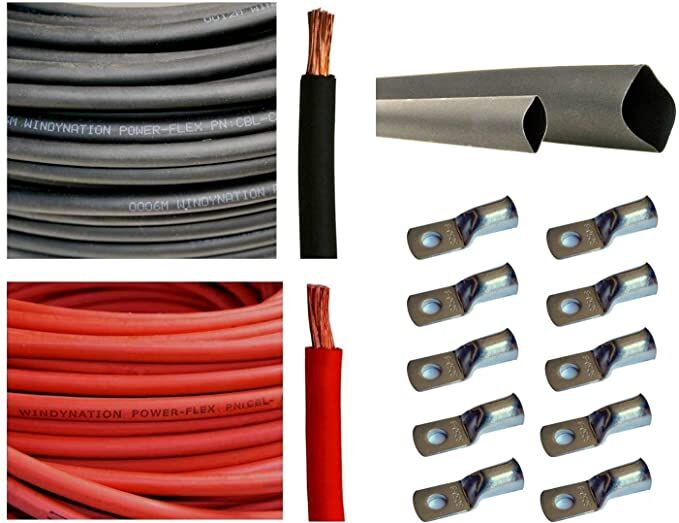
-00 AWG 5/16″ Lugs – for Battery connections (you may need 4/0 depending on the length of your battery cables
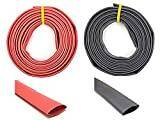
Heat shrink for the -00 Lugs – We bought all black cable and use the heat shrink to distinguish power & ground (cheaper to buy bulk cable and less waste)


Heat Shrink for the 2 AWG lugs.
Solar Panel Connectors – Mating connectors needed to connect to the Sunpower Solar panels
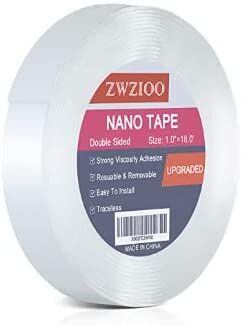
Nano Tape – This stuff made placing and testing out breakers and fuses SO much easier. This would easily hold the part on the wall without having to screw it down.
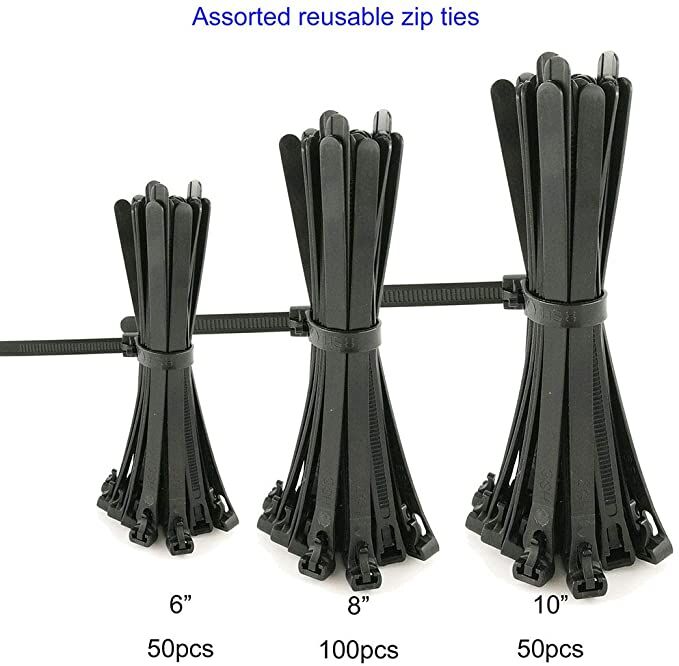
Adjustable Zip Ties – these were invaluable as you’re routing wires. You route in layers so instead of having to cut tie straps off every time you add a wire, you just pull this off and re-adjust!
Bulk & Specific Cables

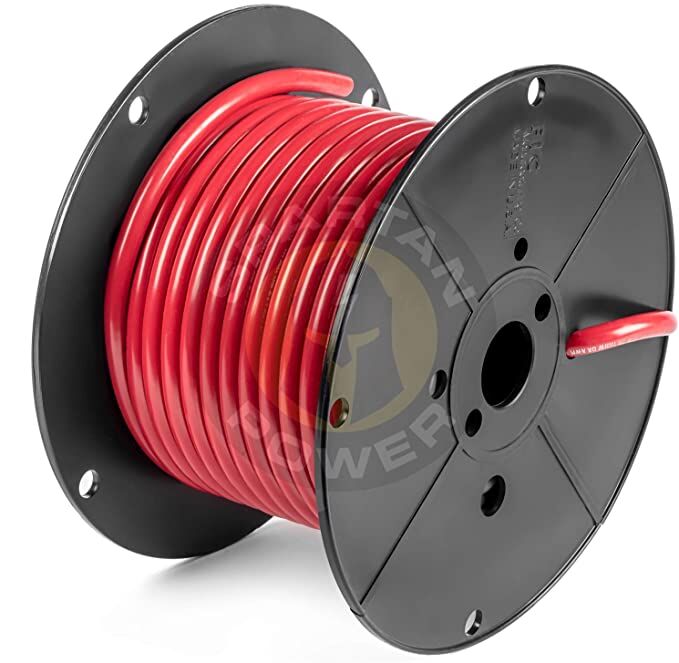
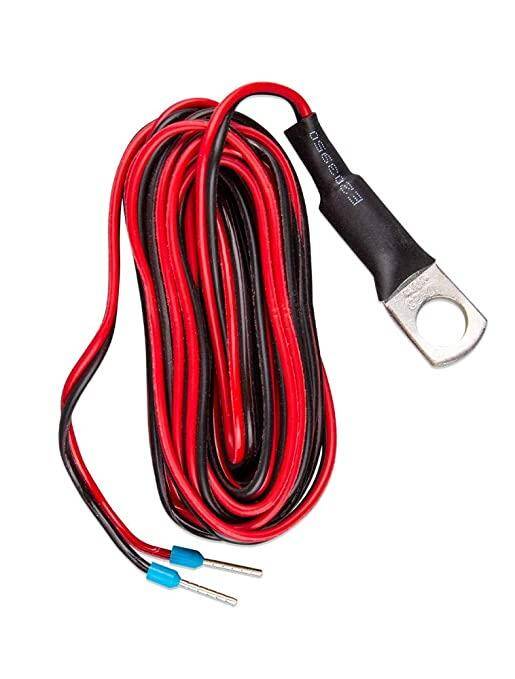
-00 AWG Black cable – Yeah the pic shows red, but we got black cable. Honestly you can get either as long as you differentiate on the heat shrink. We bought in bulk to help save cost
2 AWG black cable – Same issue here with the -00 cable…. buy the black one.
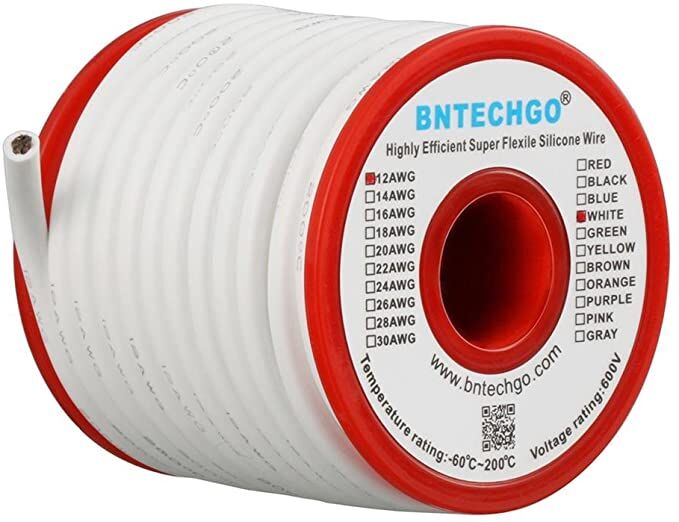
12AWG White cable – used for wiring up the solar panels to the MPPT controllers on the roof. The white blended in more nicely up there.

6 AWG Cable, Terminals and Heat Shrink – used to connect the MPPTs to the power distribution buss bar
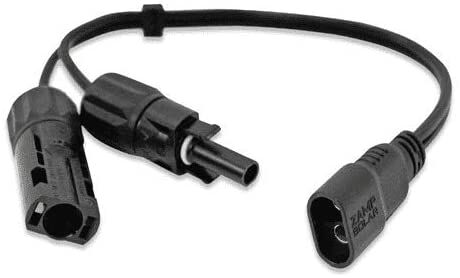
Zamp Y Cable – Needed this to connect the existing Zamp solar panels to the MC4 connectors
Victron VE Direct Cable (32ft) – I’m gonna throw Gary under the bus and say that we didn’t need a 32 ft VE-direct cable. The 10ft would have worked. But now we have a nice coil of cable in our basement that isn’t hurting anyone except Gary’s pride. This went from the BMV-712 round display to the Cerbo GX controller.
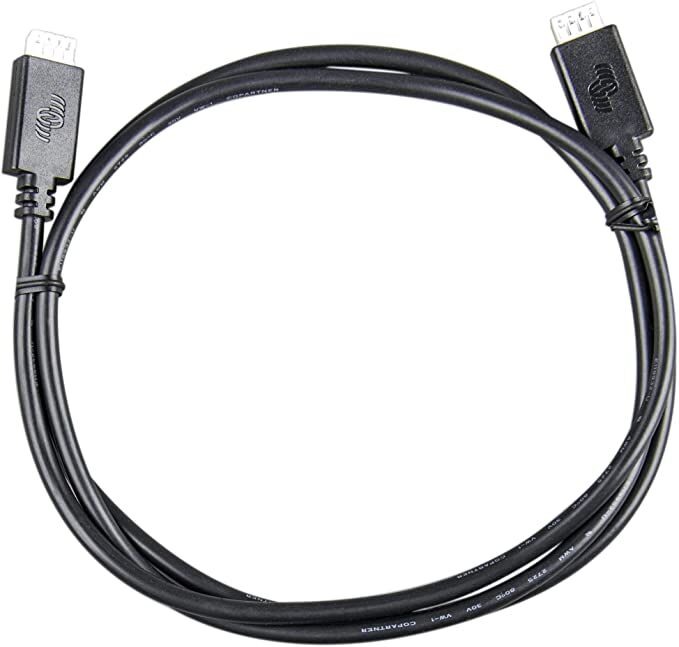
Victron VE-Direct Cable – We used 2 of these short guys to connect each of the MPPTs to the Cerbo GX Controller
USB Cable for Cerbo GX Touch – The one nice thing about that touch monitor is that you just need 2 cables – USB to power it, and HDMI to display. We bought this 16′ one which extended the one that came in the box. Too long, but we couldn’t find a shorter extension. But this worked just fine!
HDMI Cable for Cerbo GX Touch – This was a really long cable as well so if you have better measurements you’re better off. We had a lot coiled up but didn’t really measure to figure out the ideal length.
Leave a Reply
You must be logged in to post a comment.