As part of our continued upgrades on our 2018 Host Cascade Truck camper, I thought adding a backsplash in the kitchen area would reduce the cleaning effort after cooking as well as enhance the look of the camper. So, I set off to find some peel-and-stick tile locally.
I wanted to physically see the tile so I chose to head to our local Home Depot which had a surprisingly large selection of the peel-and-stick tile.
I chose this particular version since it was pretty light in color as well as had a small amount of shiny tiles. I preferred the matte look and this seemed to fit the bill.
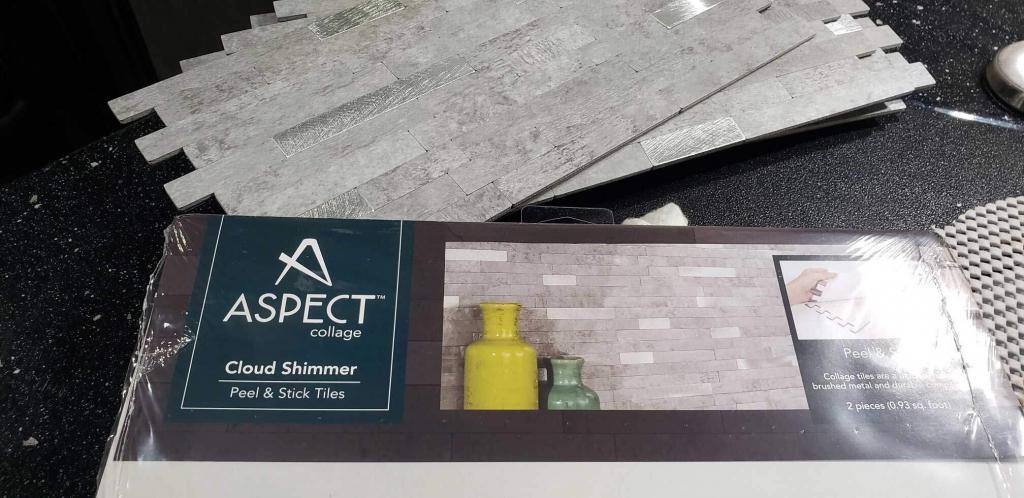
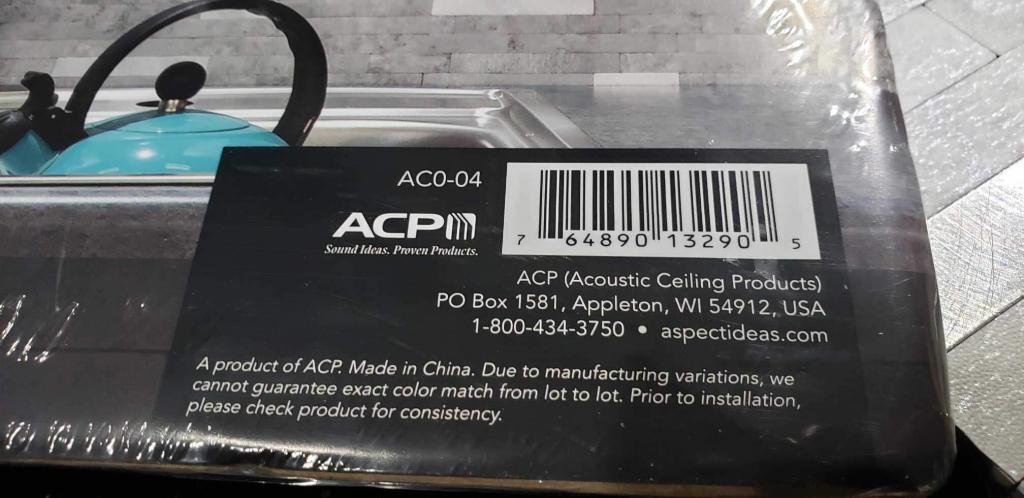
We used the Aspect Collage Cloud Shimmer ACO-04. I used a total of 8 packages (not 10), but had to cut very closely – I didn’t have much of anything left over. Here’s the link to the exact tile at Home Depot.
I also purchased a silicone caulk for areas where I had a little more gap than was planned. The challenge is that these are a 1-and-done kind of adhesive and with this many pieces, you’re bound to have some gaps between the sections.
I tried to pick a caulk that was very similar to the tile so it wouldn’t show much. I chose the Delorean Gray Silicone caulk at Home Depot which was pretty close.
I would recommend that you go ahead and add Loctite PL200 while you’re installing these. I (unfortunately) only used this on the very small pieces. While everything has stayed in place (6 months later), I’m afraid some may loosen over time.
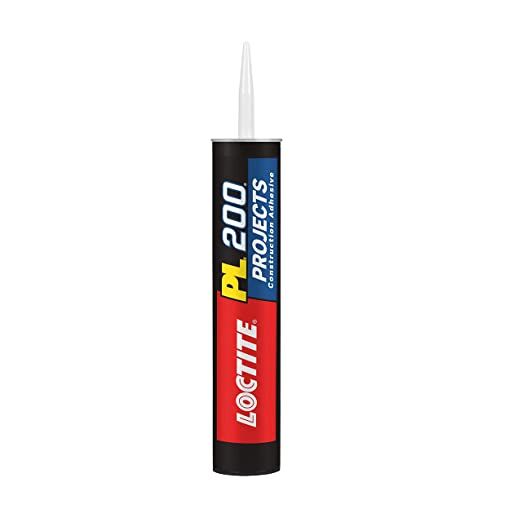
The added bonus of the Loctite is that it allows you a bit more wiggle room because it kind of “floats” along the surface. Just a thought if you’re heading down this path as well.
Happy upgrading!
Leave a Reply
You must be logged in to post a comment.