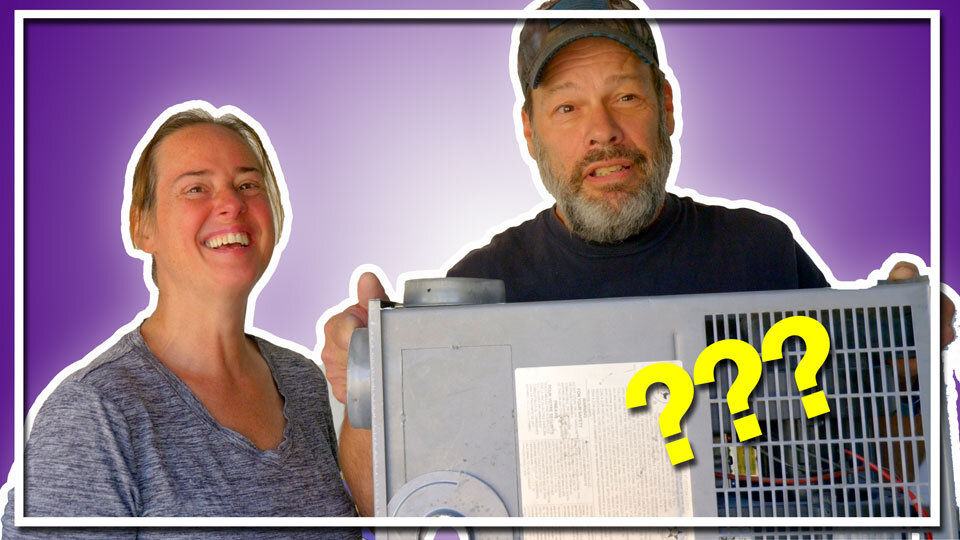
If you’re interested in how to install a diesel heater in your RV, you’ve come to the right place! Grab your beverage of choice and settle in as we install a 2D Planar heater in the slide of our truck camper!
After we try it out a bit, we’ll come back with a full review (likely in Dec or Jan)…
Products We Talked About 📸📽️ :
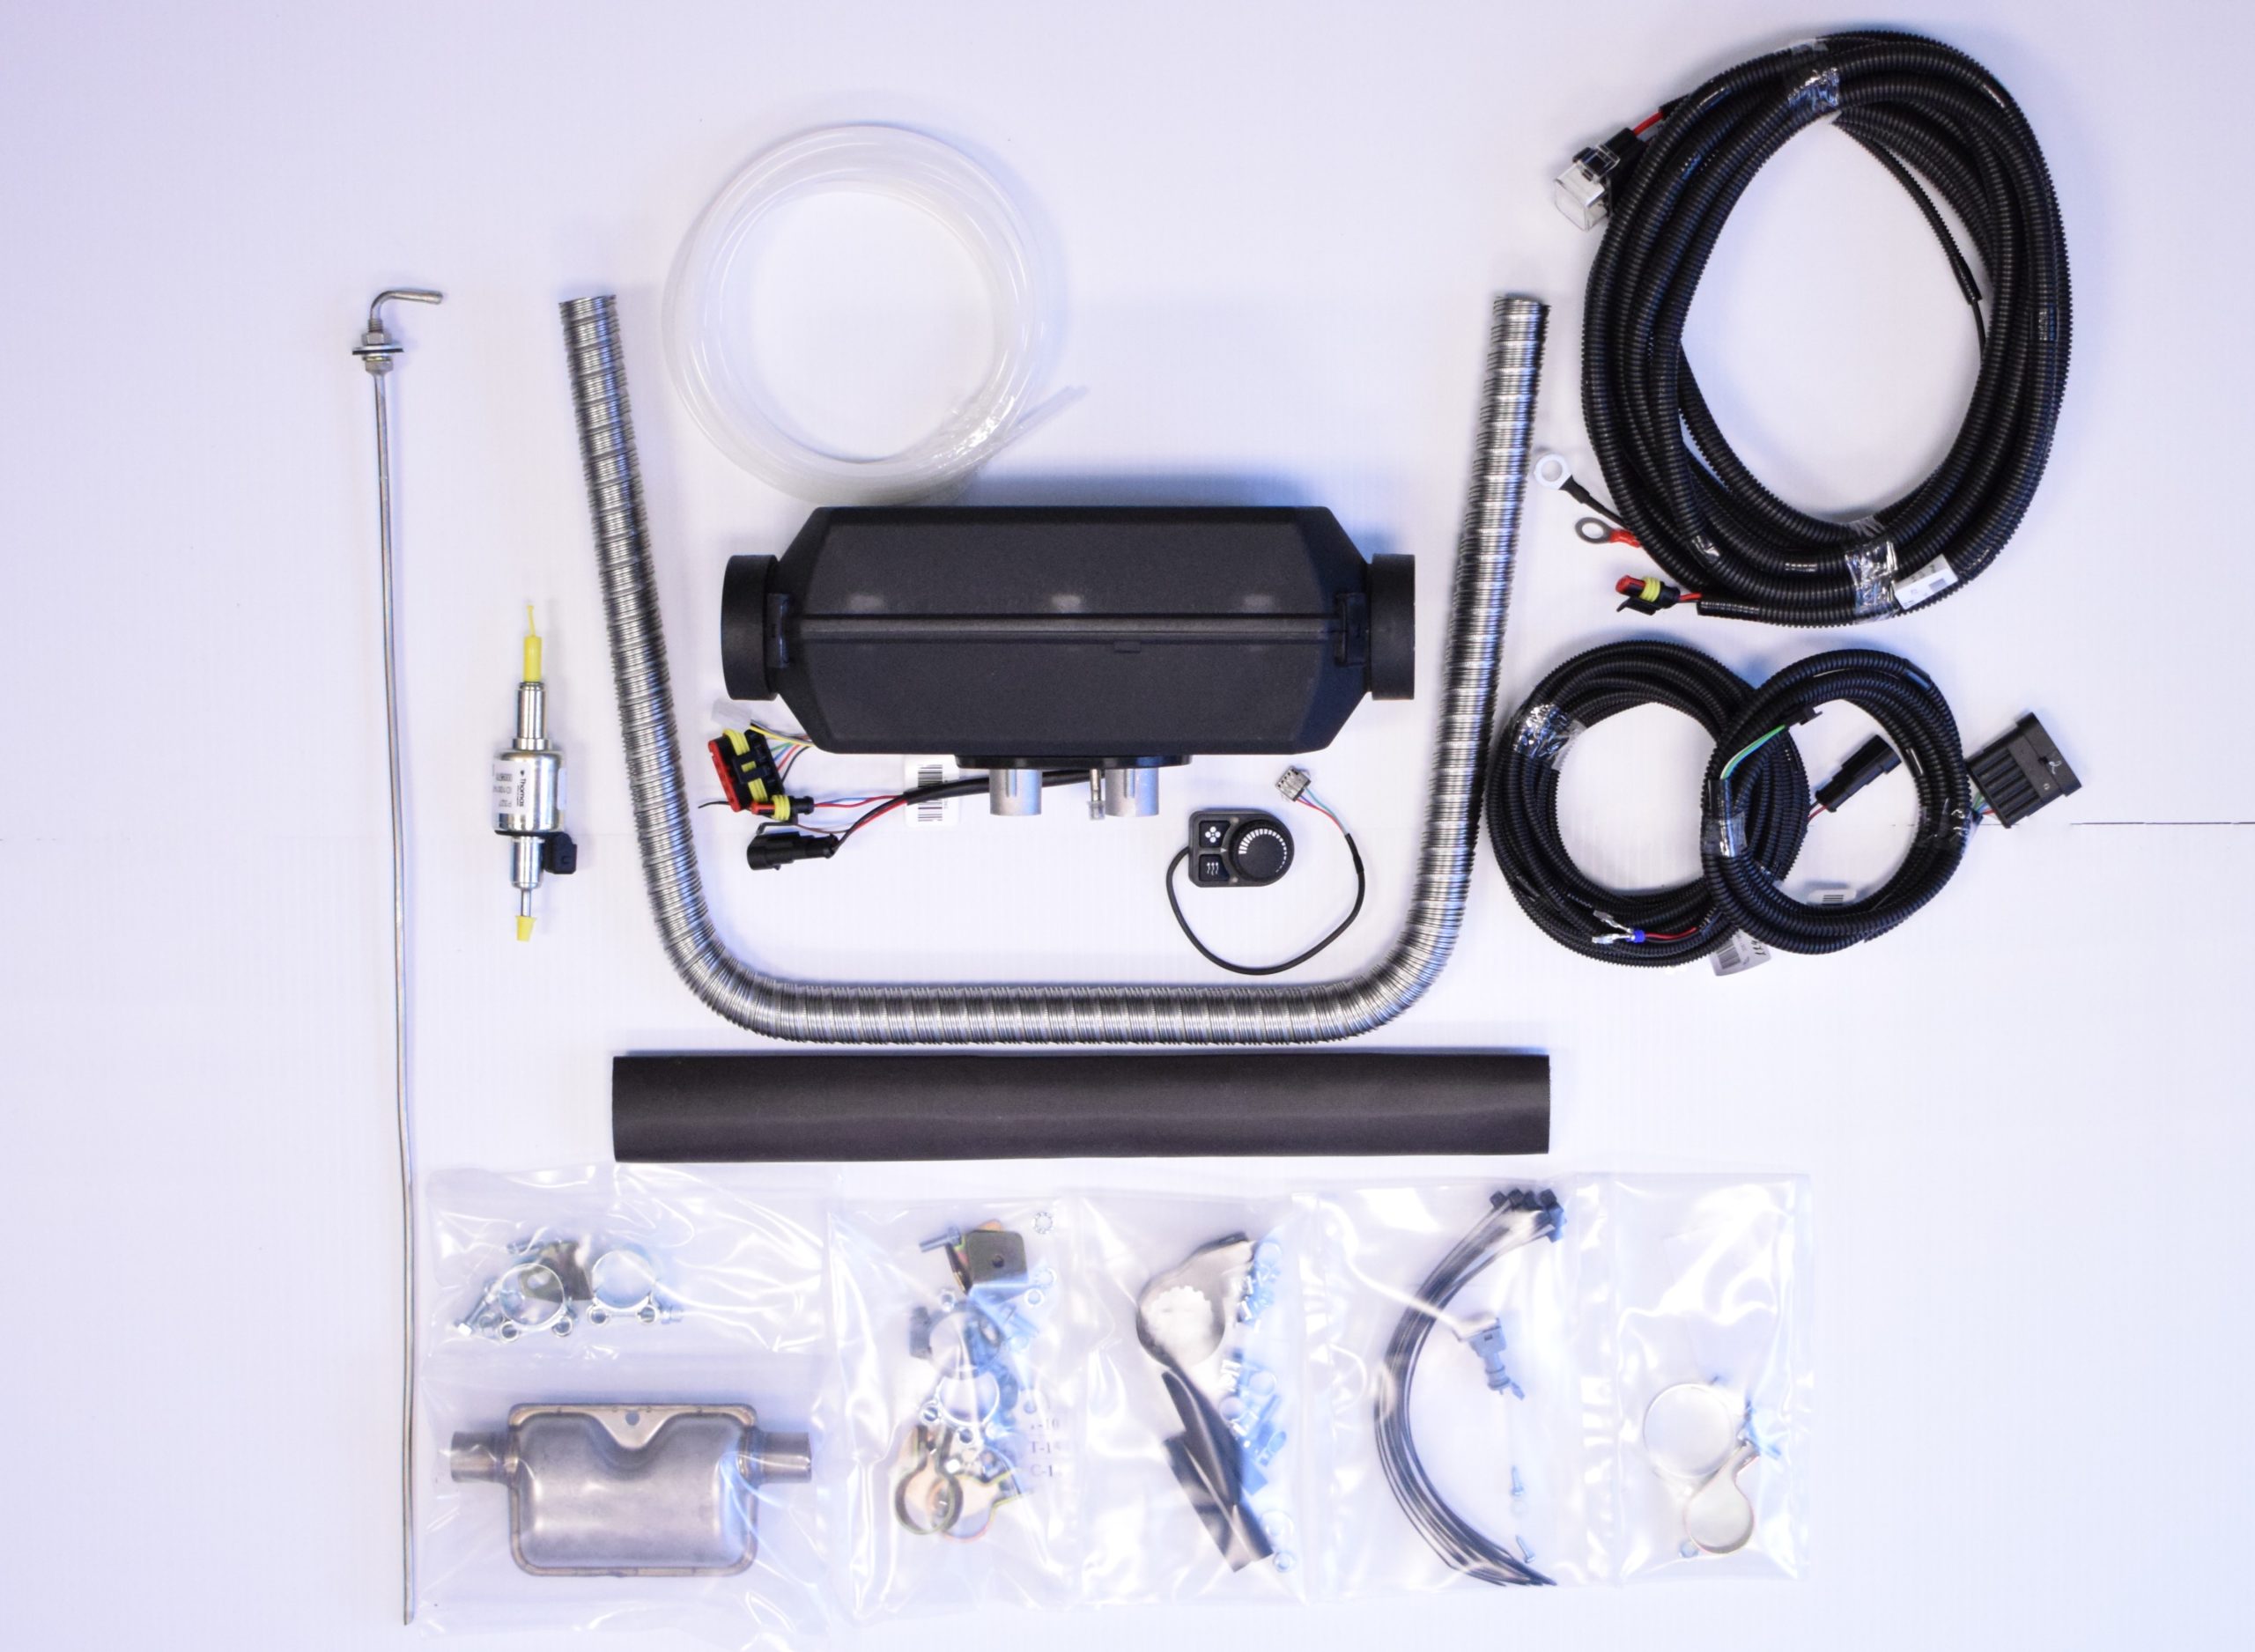
Planar Kit– This is the base kit we purchased. You will need to choose your voltage (we picked 12V) and your controller (we picked the PU-28)
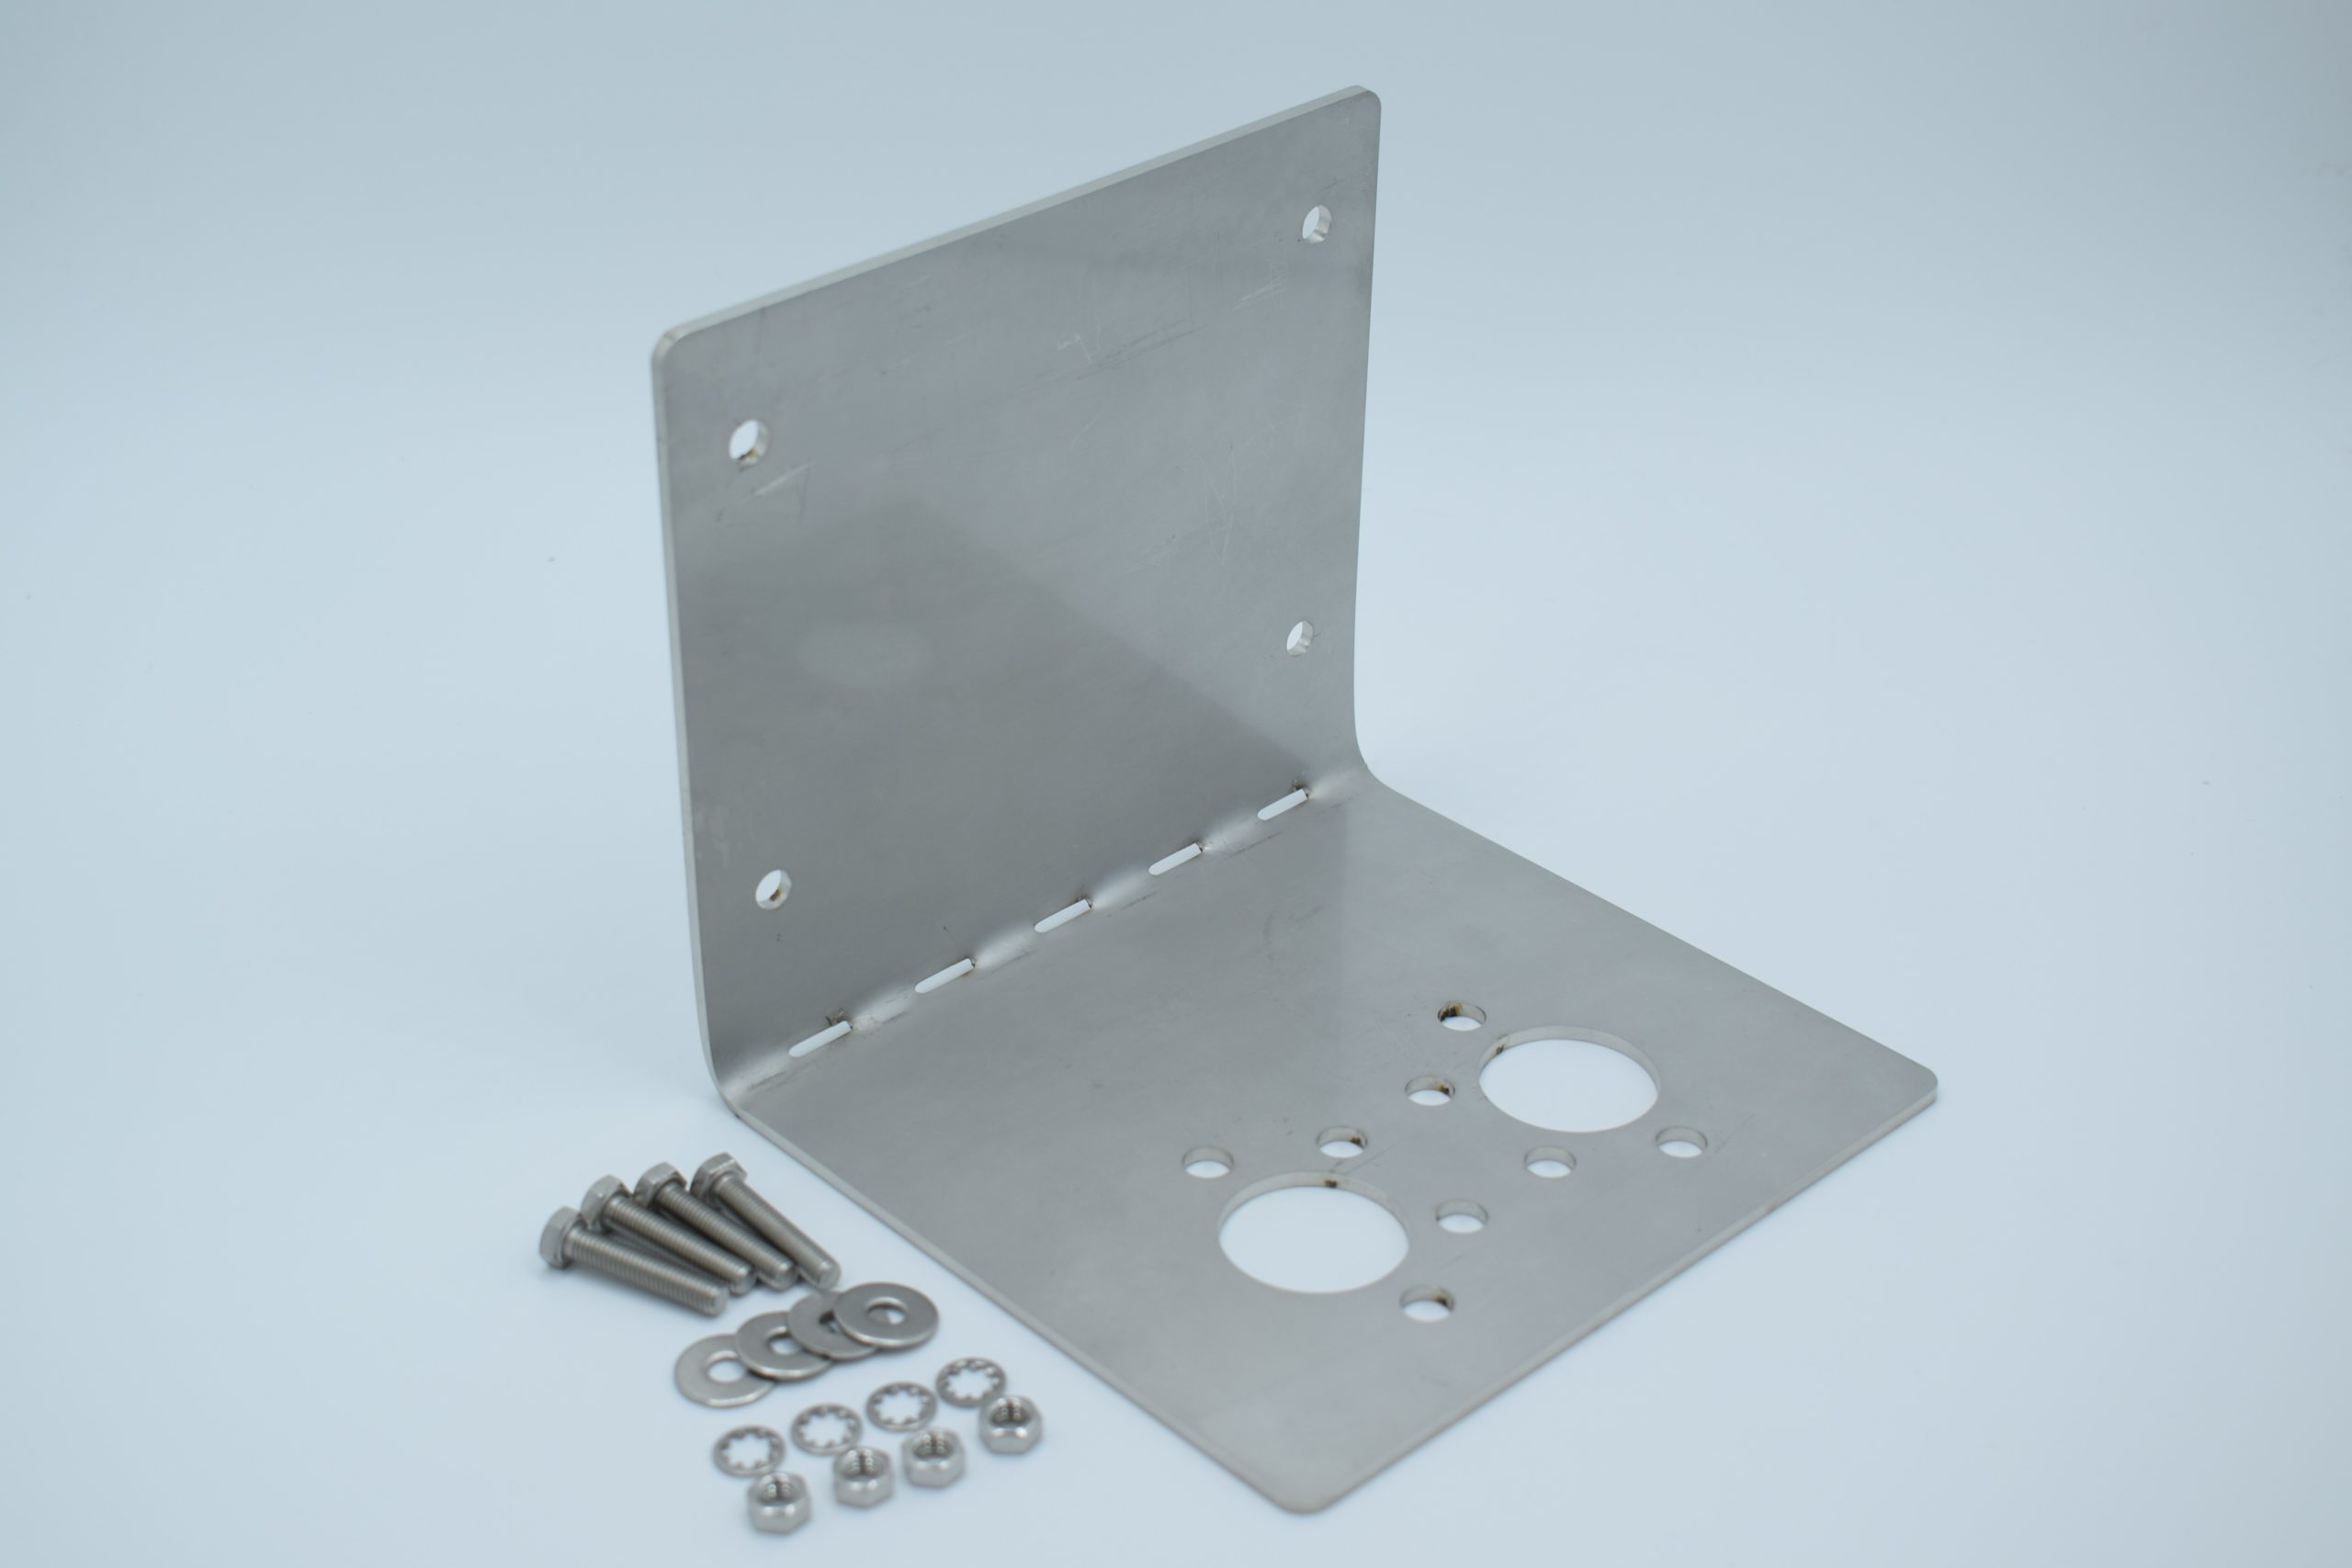
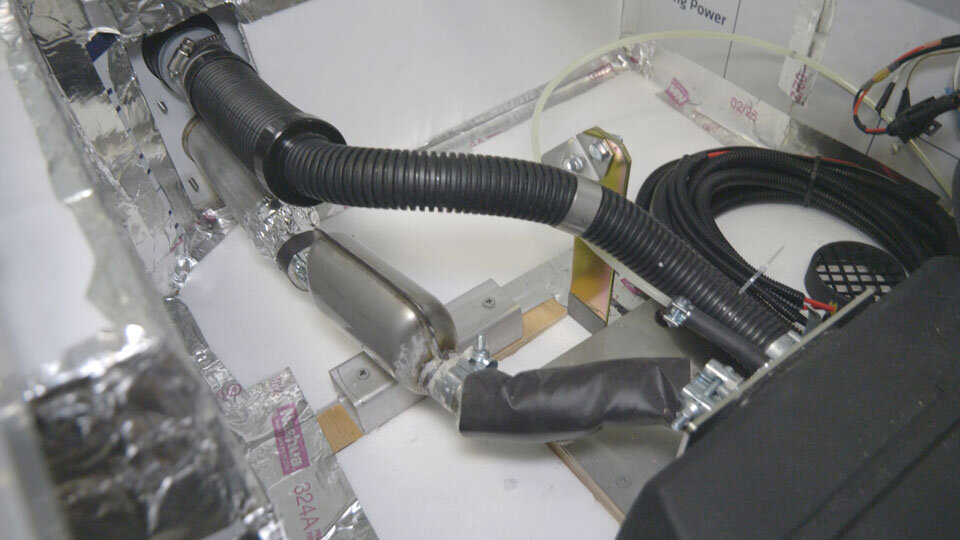
Bracket – Unlike van conversions that go through the floor, we wanted to reuse the connections from our old Suburban heater. This bracket was just what we needed.
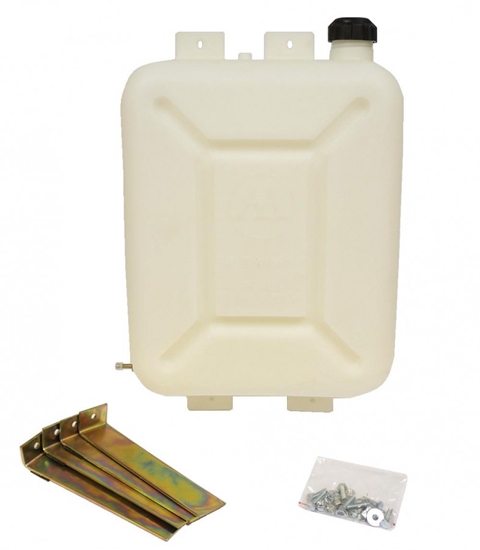
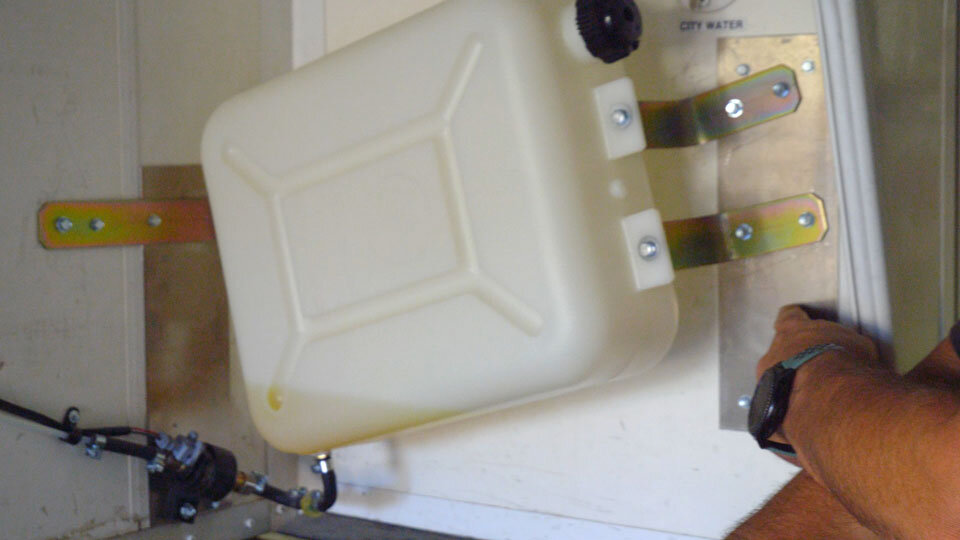
13L Fuel Tank – We decided on a separate fuel tank instead of trying to connect to our truck diesel tank simply because we were not confident that we could keep contamination out of a quick disconnect. It would also be something we’d have to remember every time we remove the camper from the truck and we’d rather not add to that list of stuff to remember!
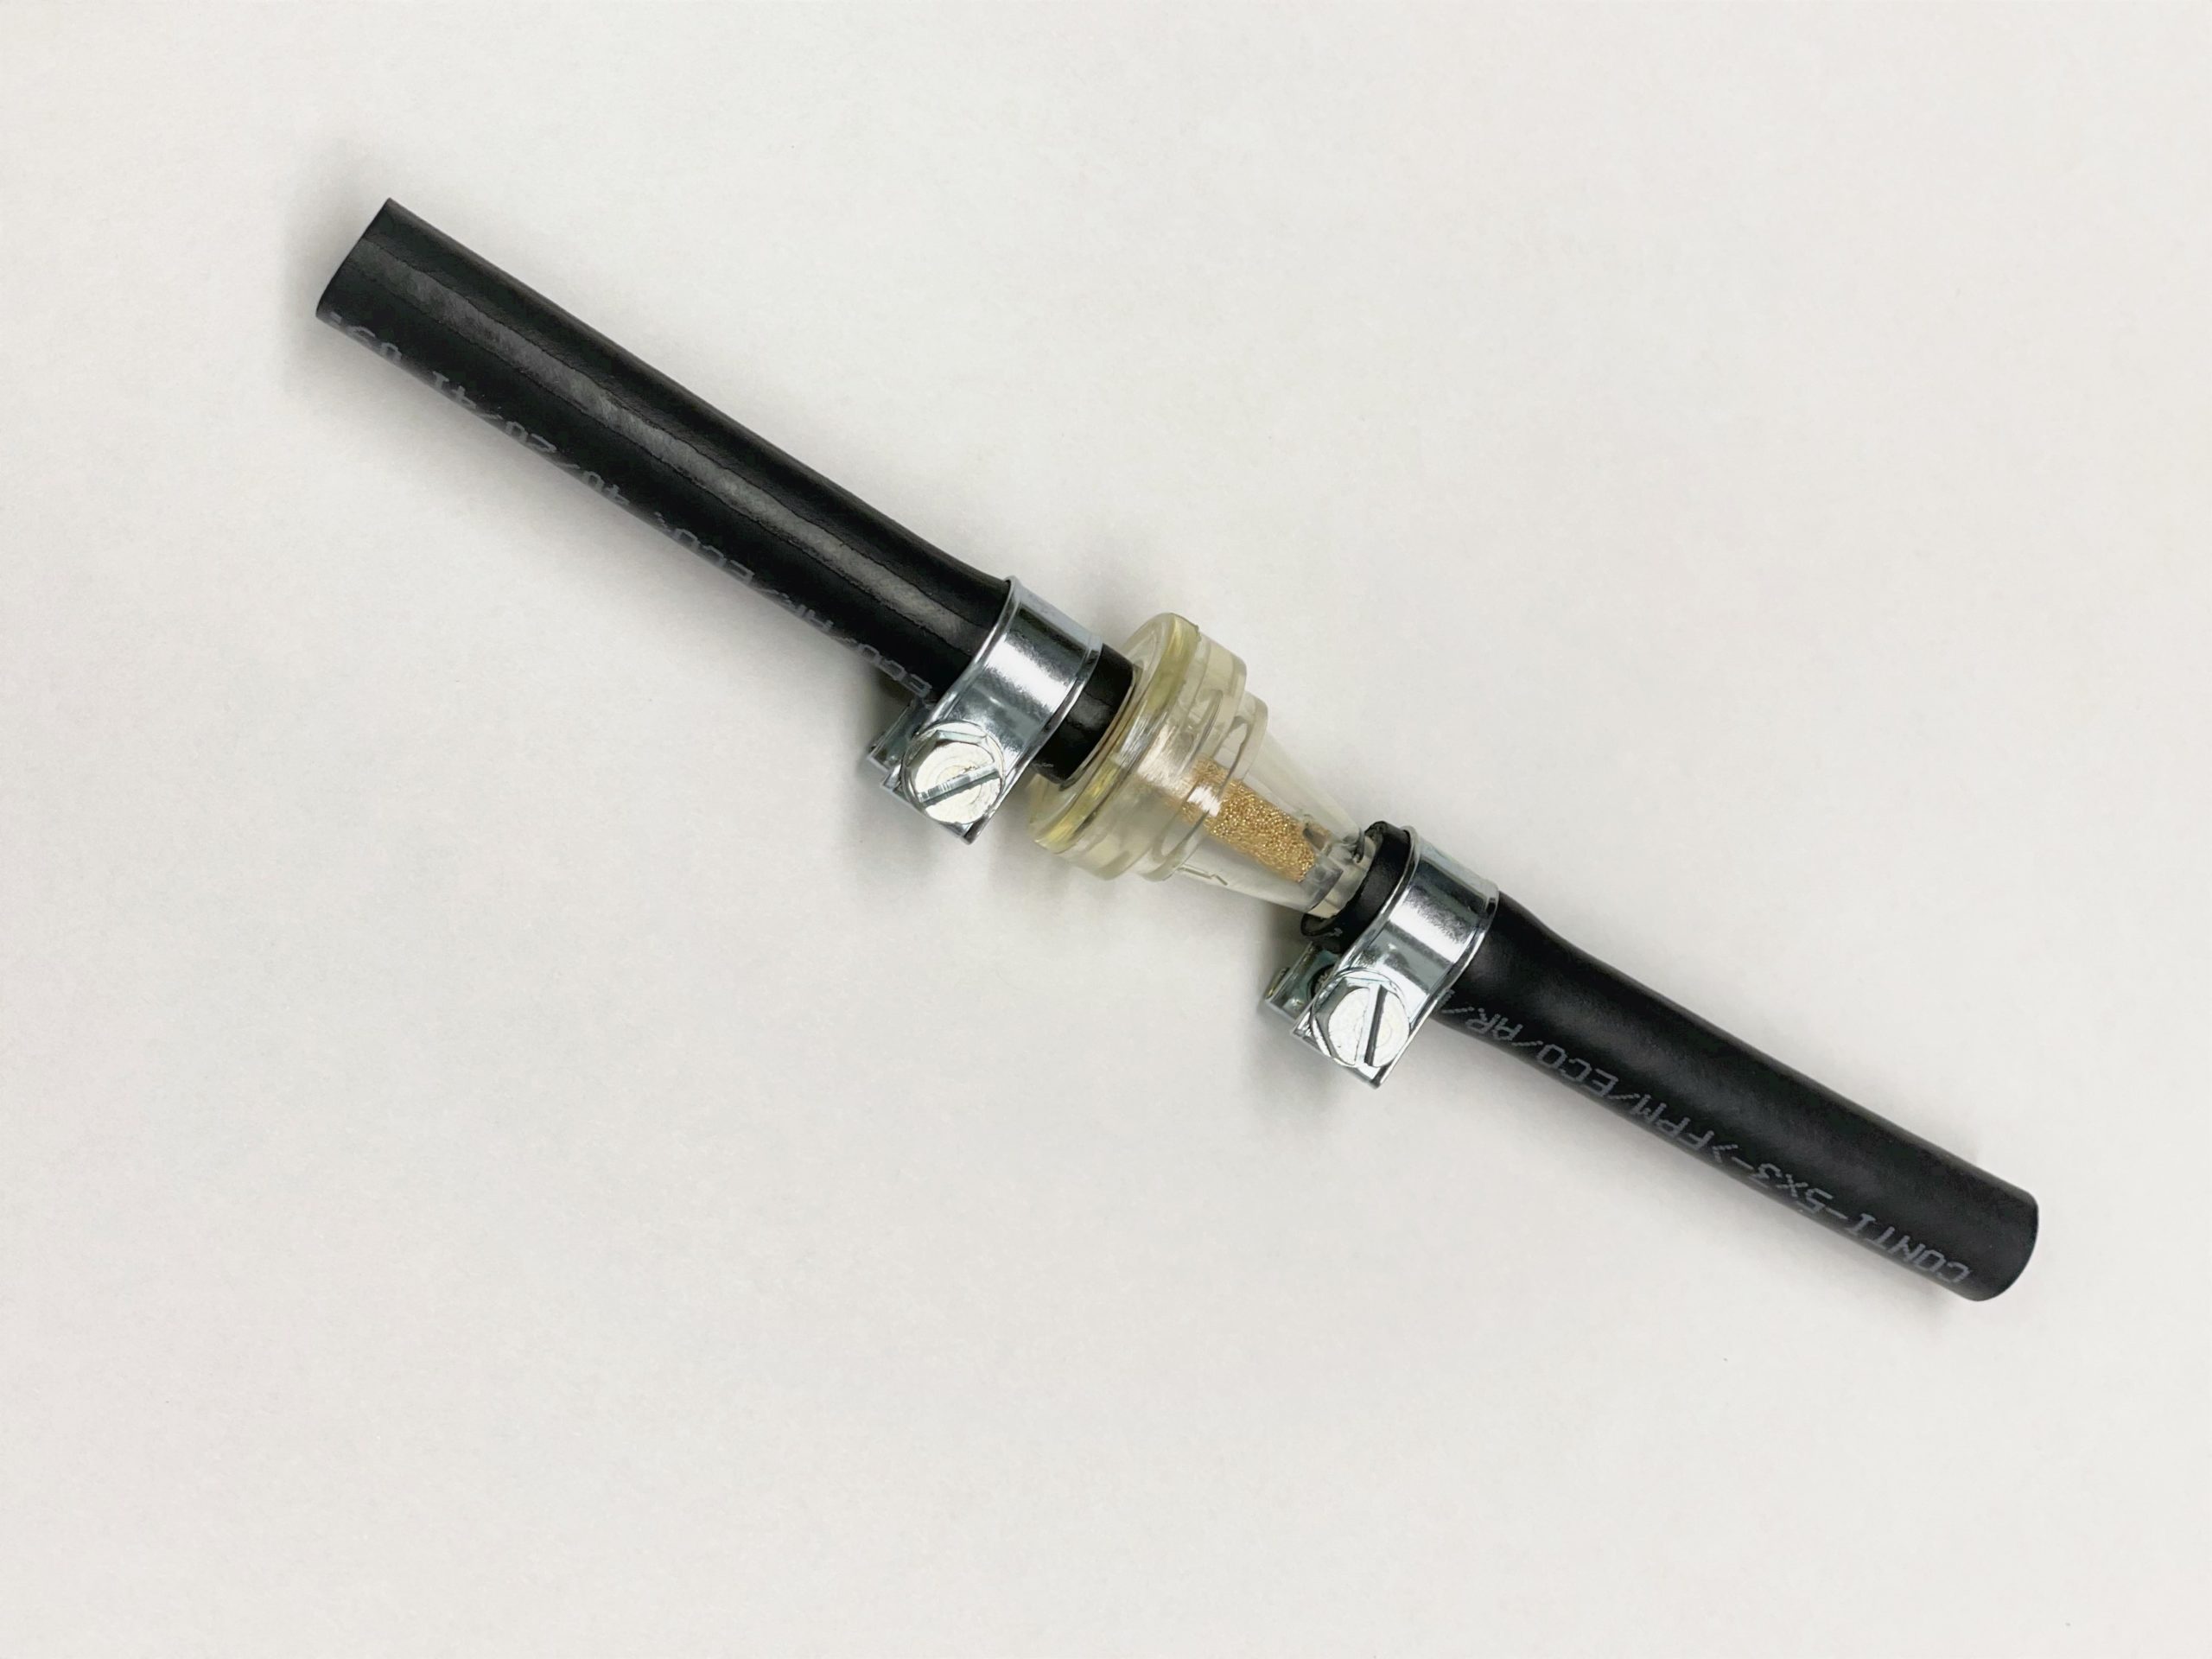
Fuel Filter – Since we were focusing on reliability with this system, we added another level by trying to keep our fuel clean.

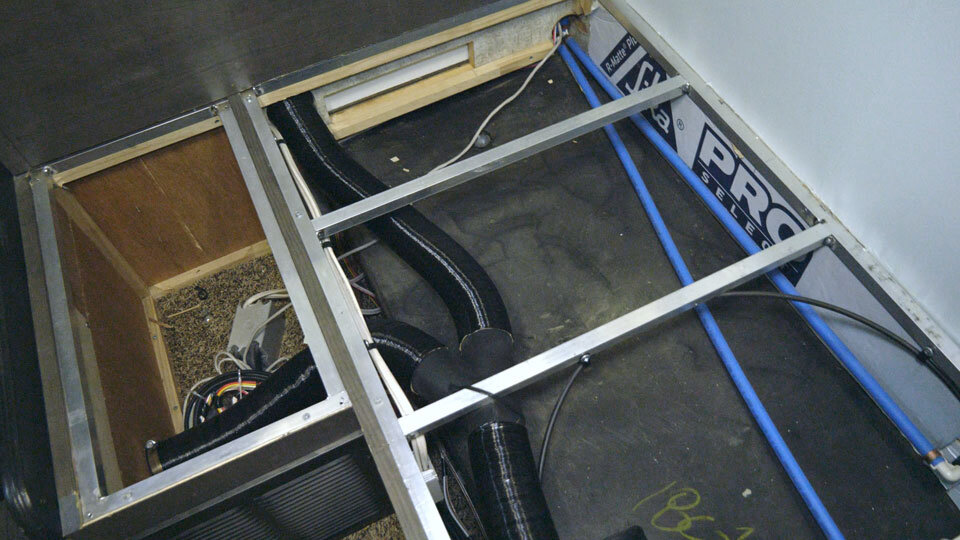
High-Temp Air Hose – For the 2D Planar heater, you will use 60mm ducting. We chose to get 10 feet of this since we weren’t sure how much we needed. We could have done this with 5 foot, but it would’ve been close!
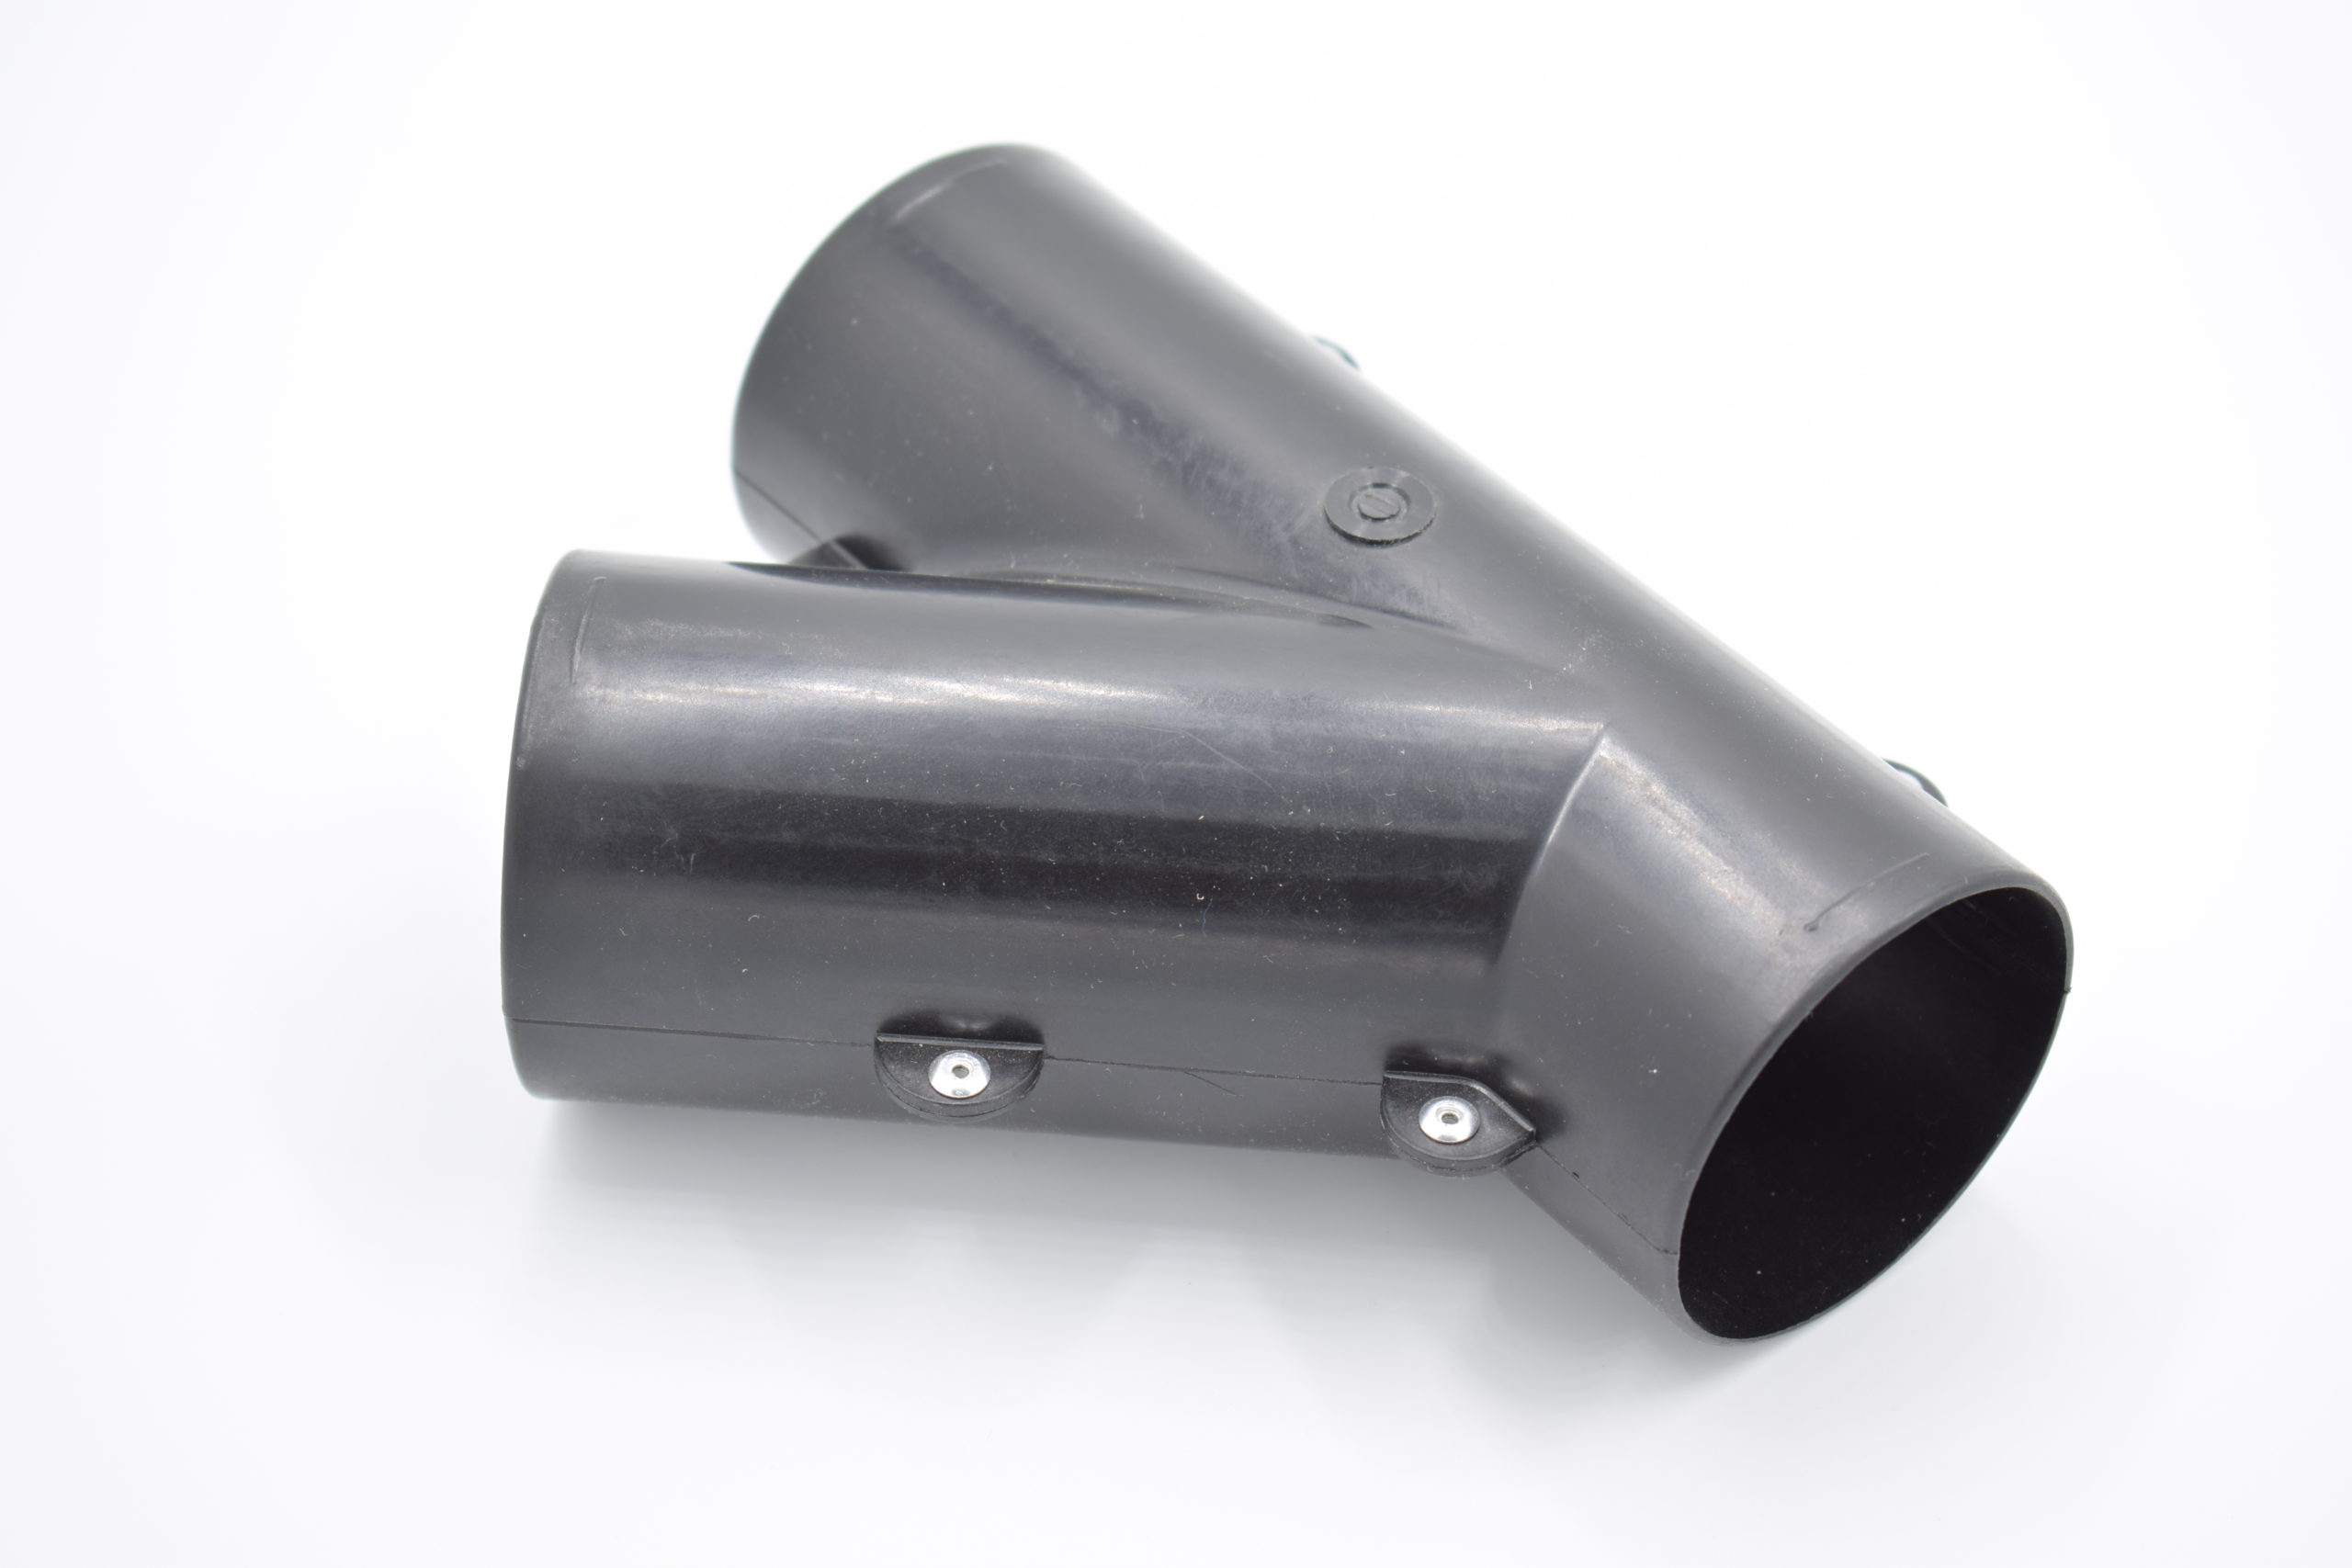
Y Duct – We chose this one since we would have one duct in the bathroom and the other in the living room. This is a 70%/30% split – the 70% is part of the straight portion. They also have a “T” version which is a 50%/50% split, but I thought this one would make the most sense for our layout.
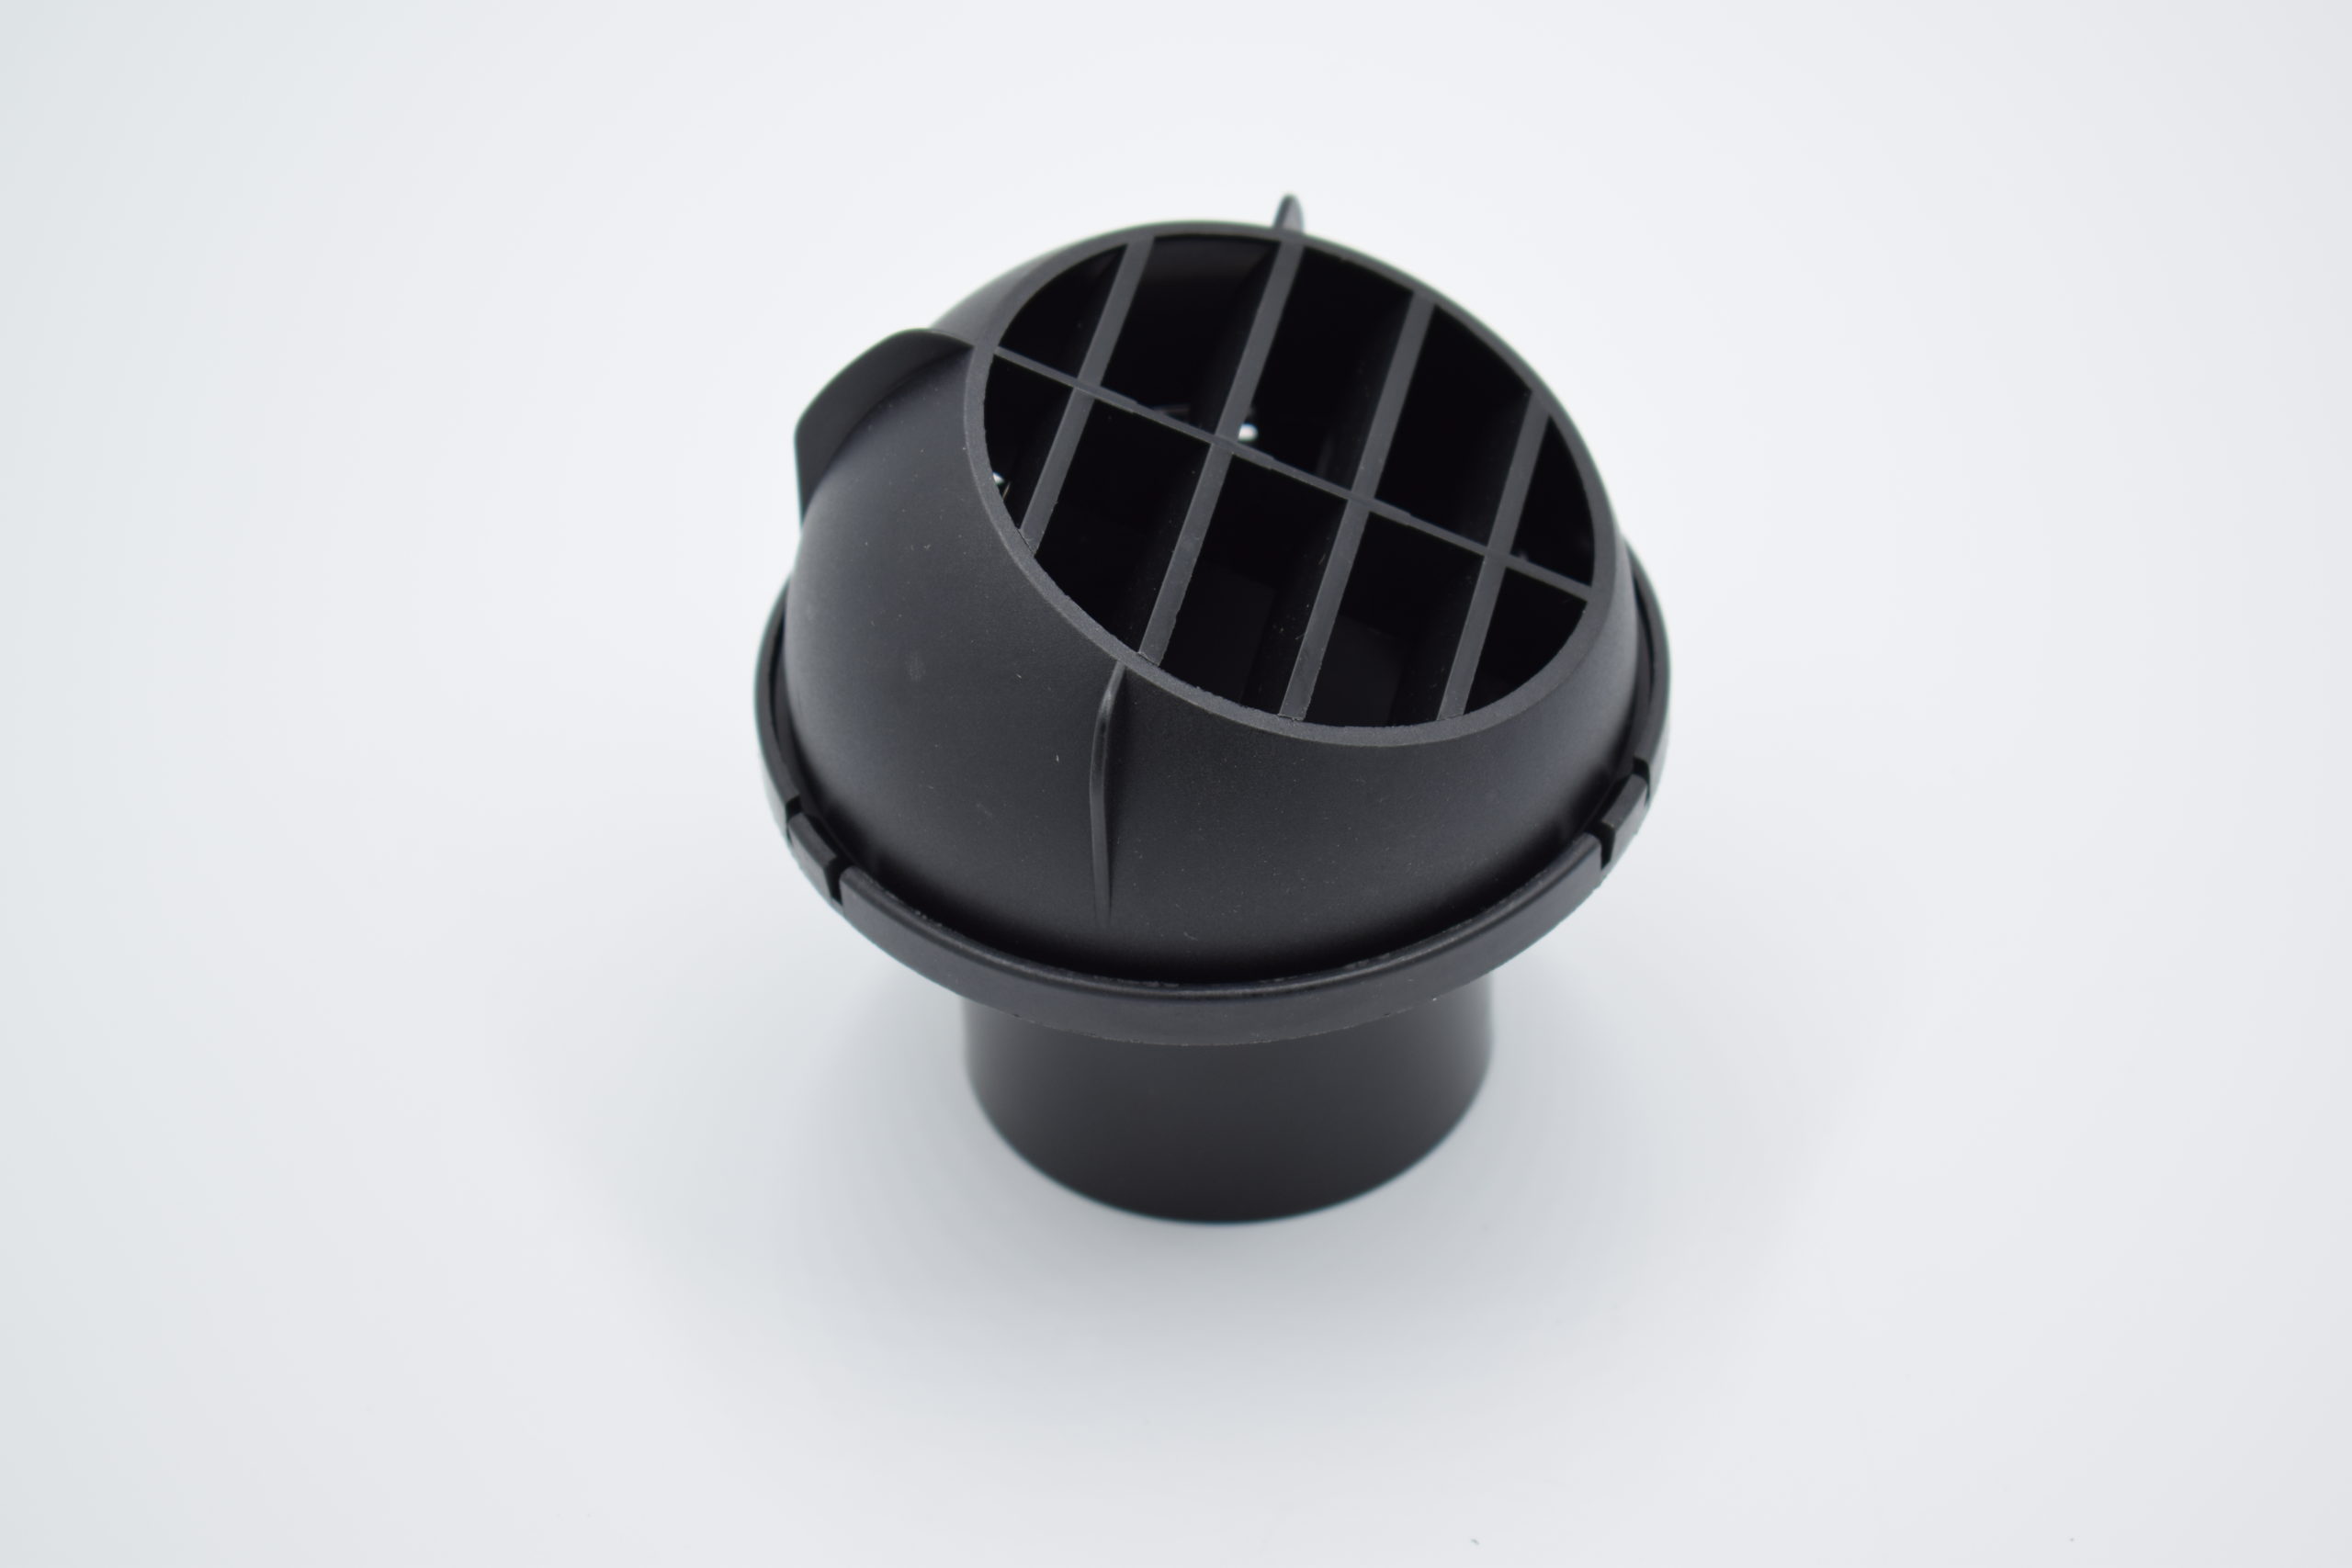
Eyeball Vent – We decided to use this one in the living room vent opening. We could direct it as needed.
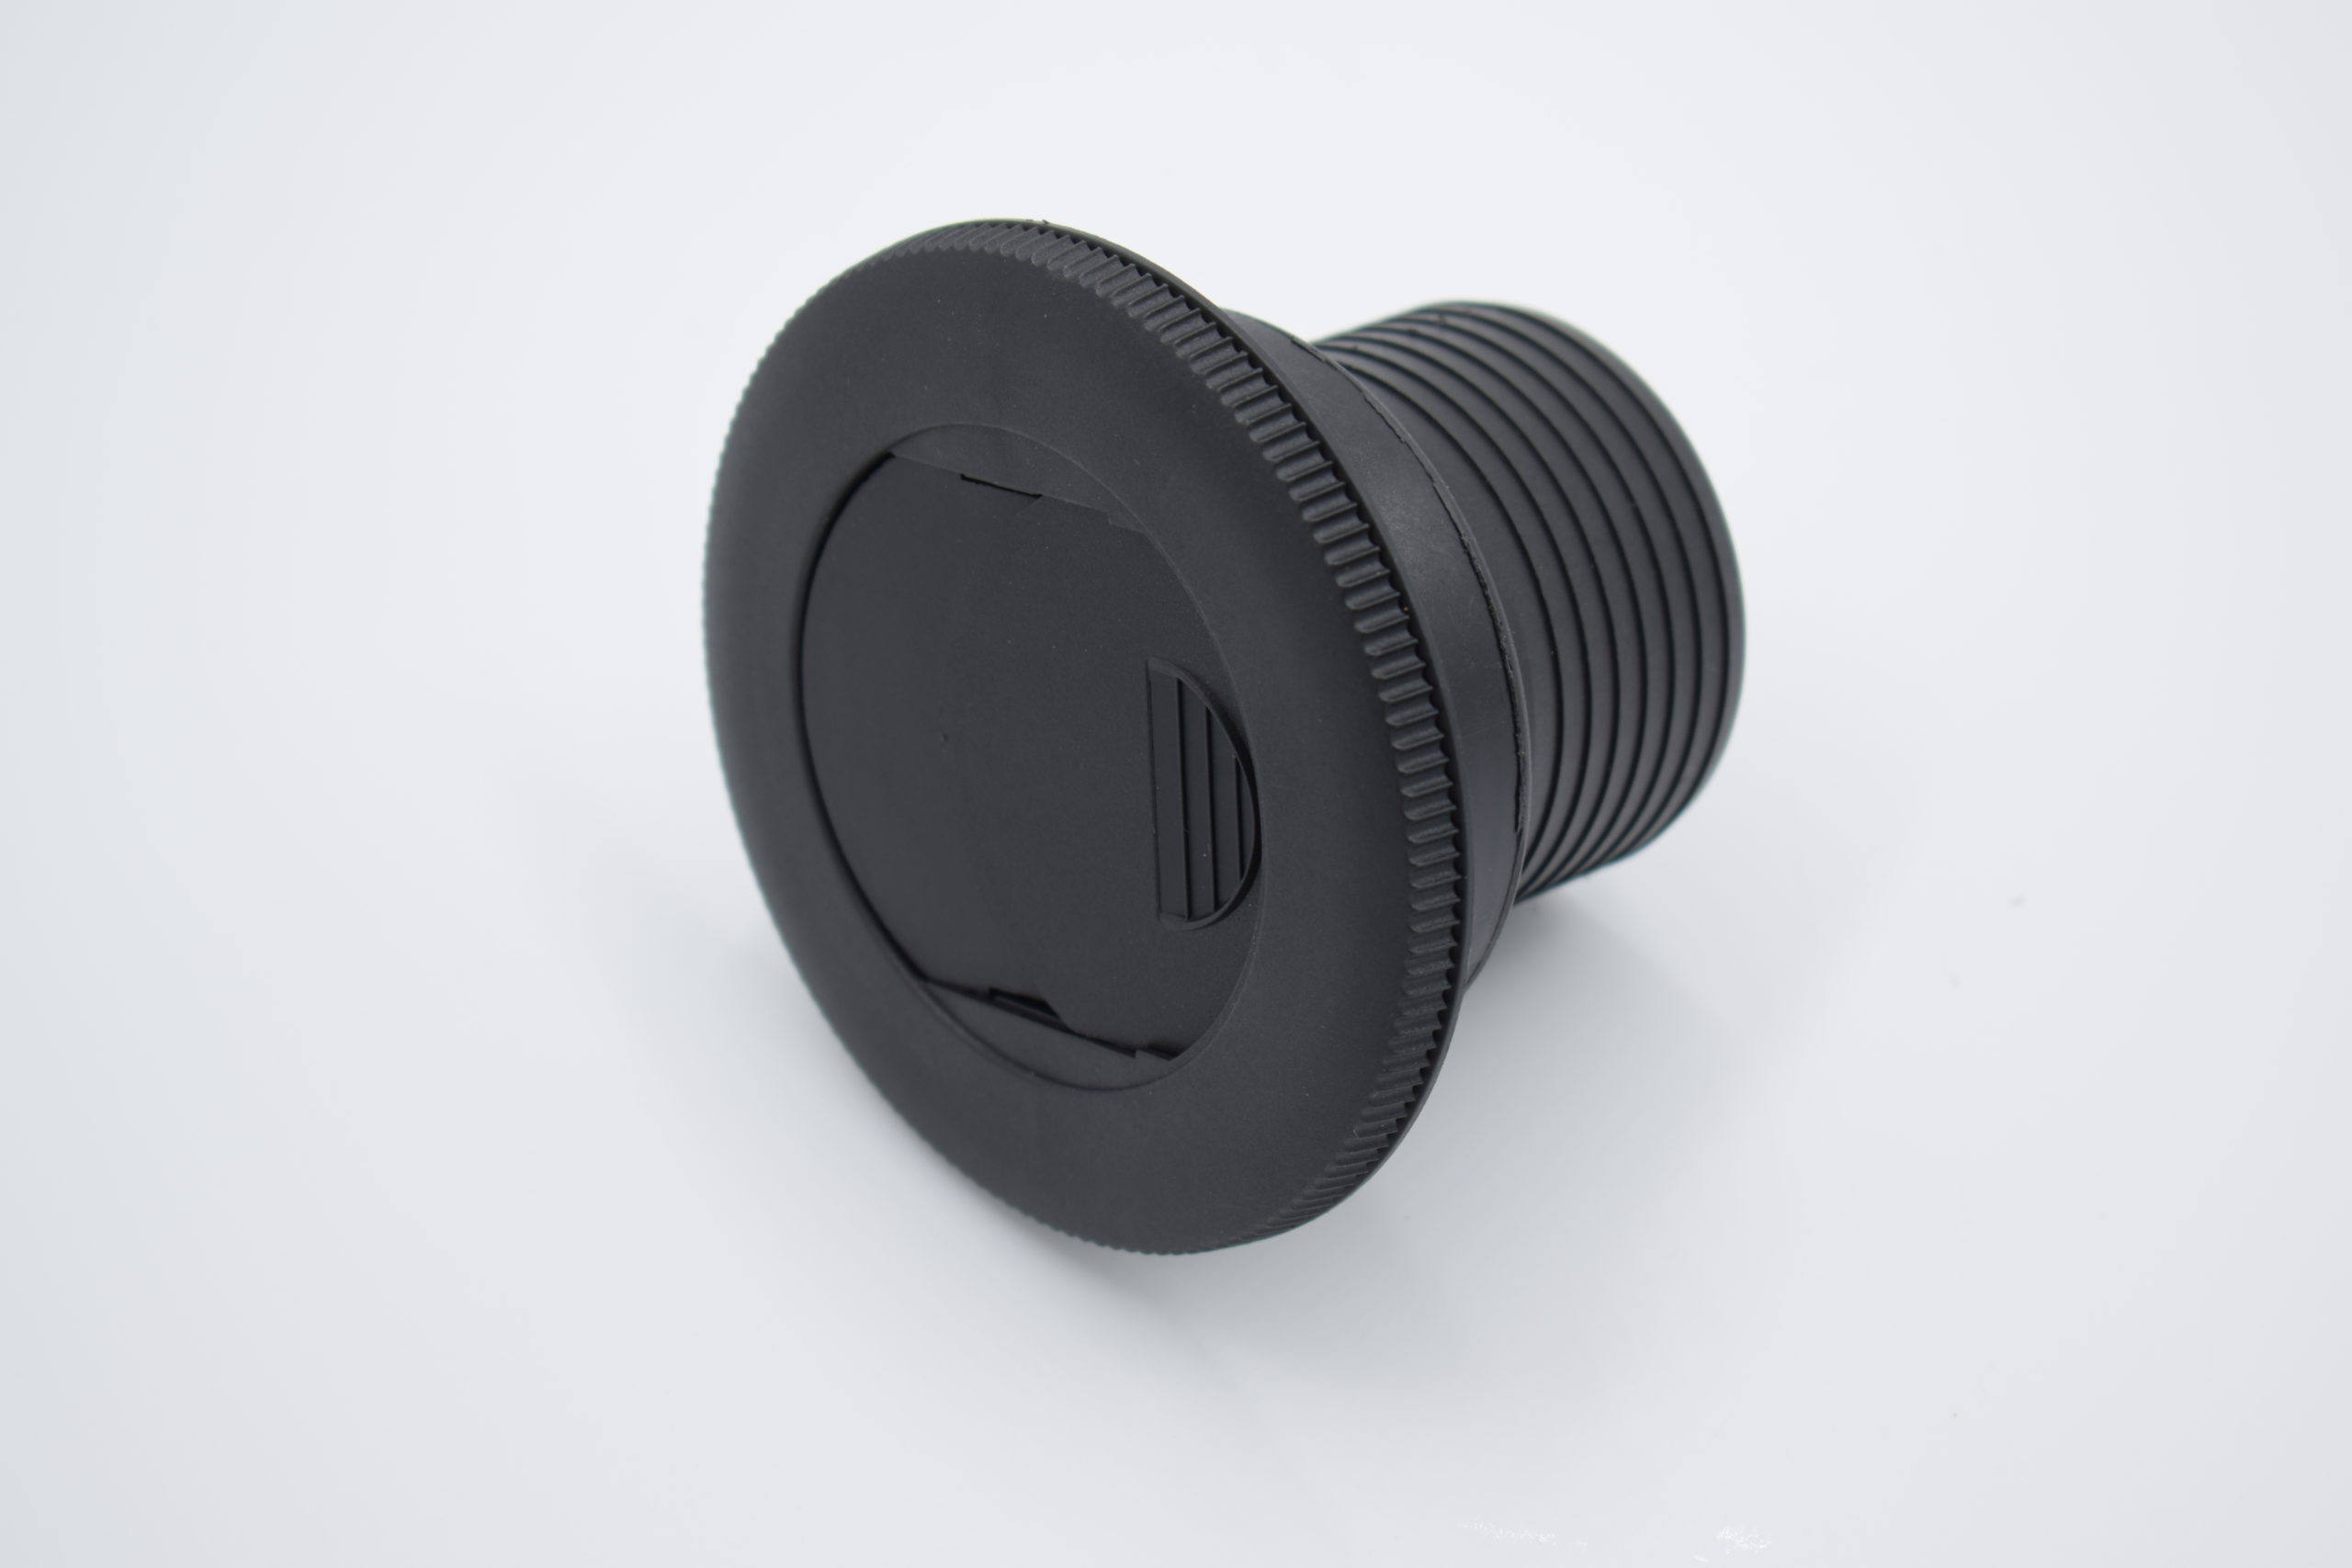
Louvered Vent – You can only have one vent that is closeable, and the one in the bathroom seemed like the perfect one to do that with. We will be able to adjust the level of heat in the bathroom based upon need. The Louvers also rotate so you can adjust as needed.
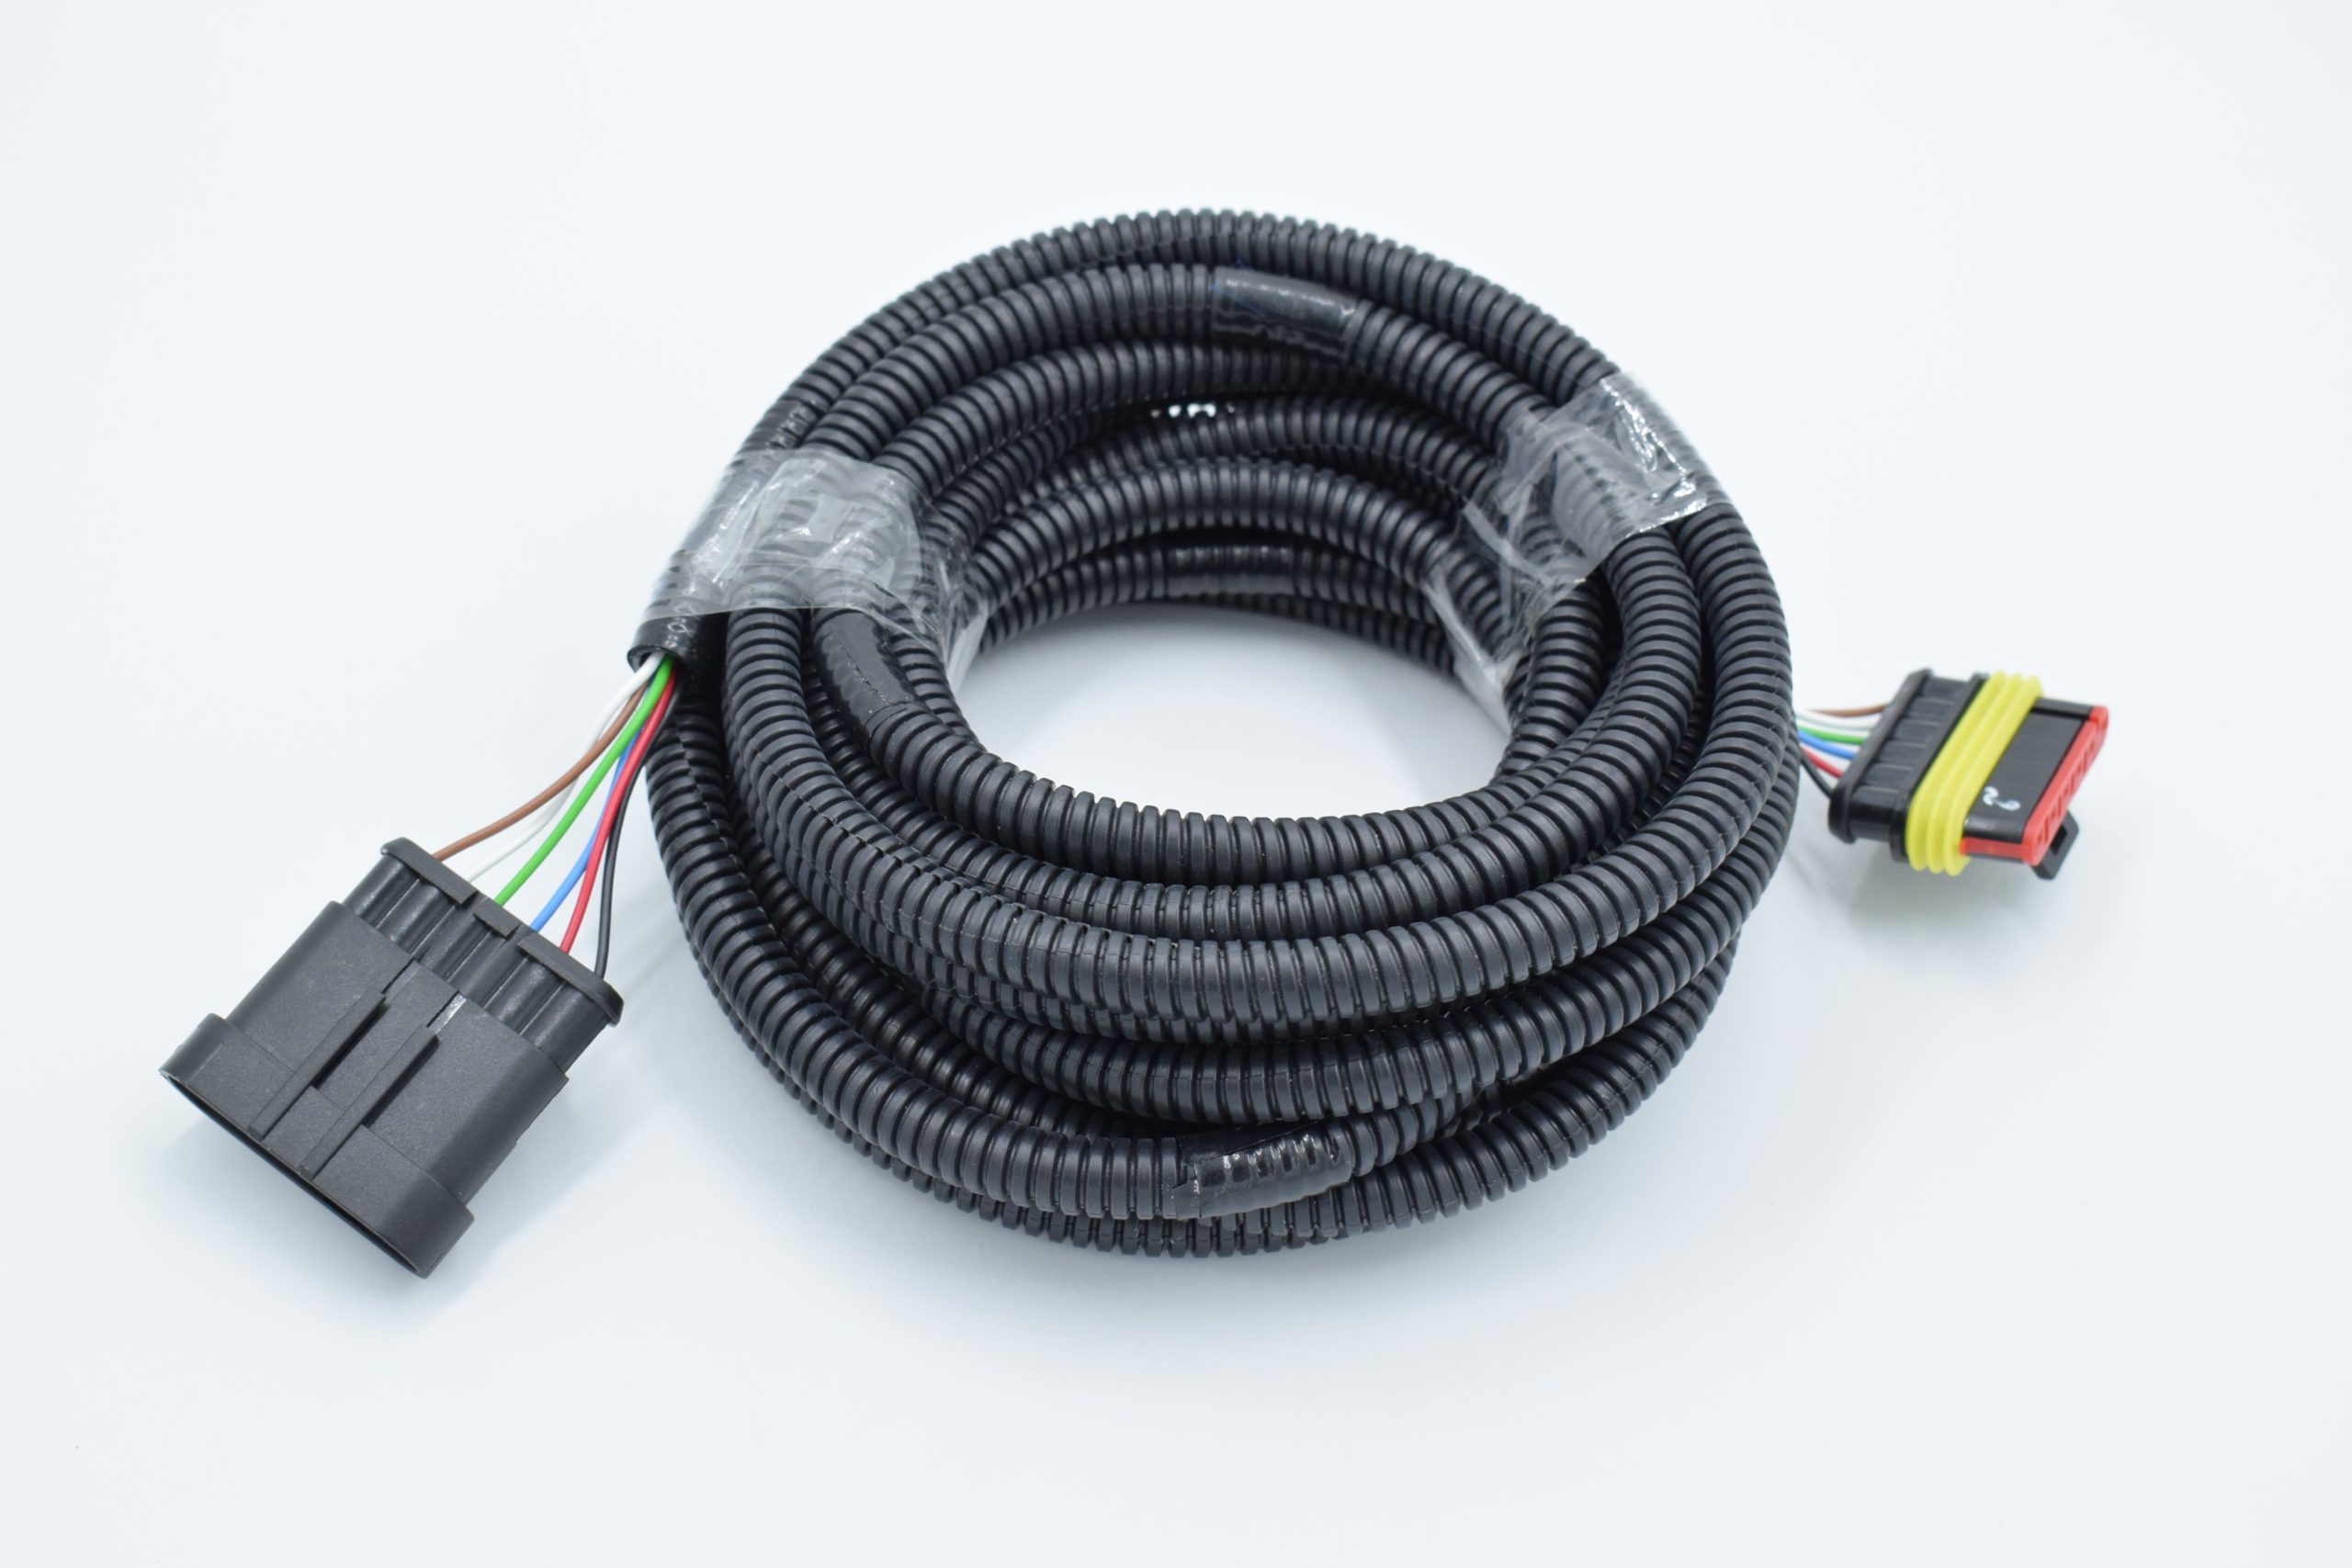
Thermostat Extension Harness – We weren’t sure where we were going to put our thermostat originally, but after reviewing all options, we decided to keep it where our old Suburban heater thermostat was located – behind our TV above our fireplace. Since that was a LONG run, we needed this extra length. We were originally going to just make our own harness, but the manual says to NOT do that due to being sensitive signal wires.

Exhaust Tape – We used this to get a good seal as we were extending to the Suburban heater opening.
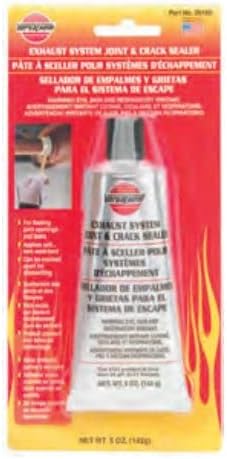
Exhaust Seal – You can never be careful enough when dealing with exhaust fumes. While we have a CO detector, we also want to do our best to eliminate the possibility of exhaust fumes in the RV. So yeah, use some of this.

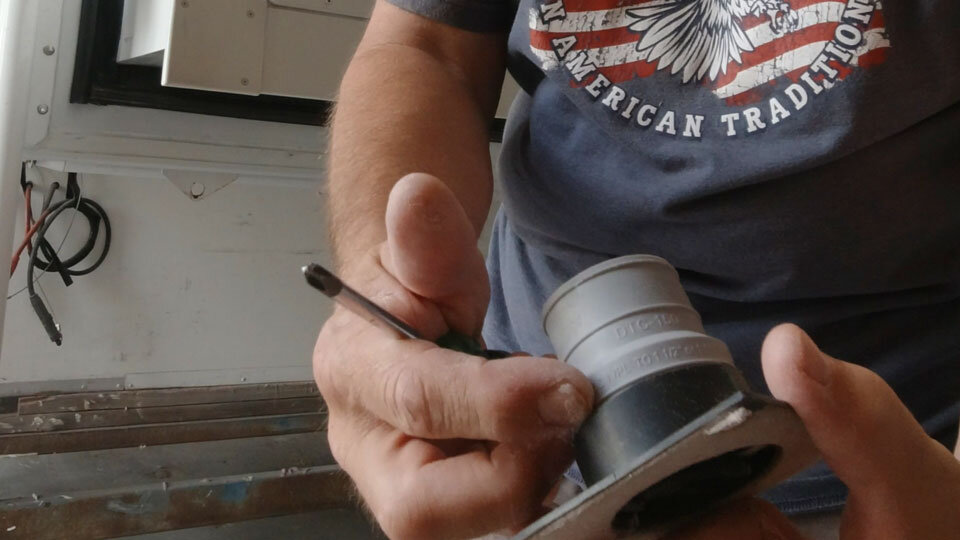
Drain & Trap Connector – Gary got this to bridge the gap in the exhaust fitting between the Planar hose and the Suburban heater hose.
Final Layout Pics

Our Camping Locations⛺🗺️📌
We’re sharing our camping and other locations on iOverlander (boondocking, etc.) and Campendium (established campsites).
✅Penpac RV – not the typical place to stay overnight, but it’s saving us a TON of money. I started looking at long-term hotels and Air BnBs in the area and we’d be paying well into the thousands for the amount of time we’re likely to spend here. Not the prettiest of places, but the price is right! And hopefully we’ll get started on the camper shortly!
Our Journey Map⛺🥾🗺️📌
We also have a currently free map on Google with all of the places we’ve stayed along with the related video and links to more detailed reviews on iOverlander , Campendium and Google Maps.
Leave a Reply
You must be logged in to post a comment.